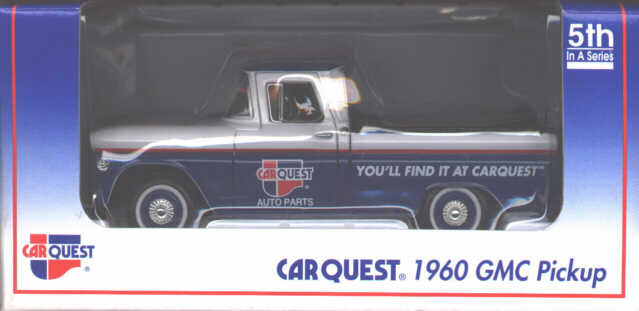
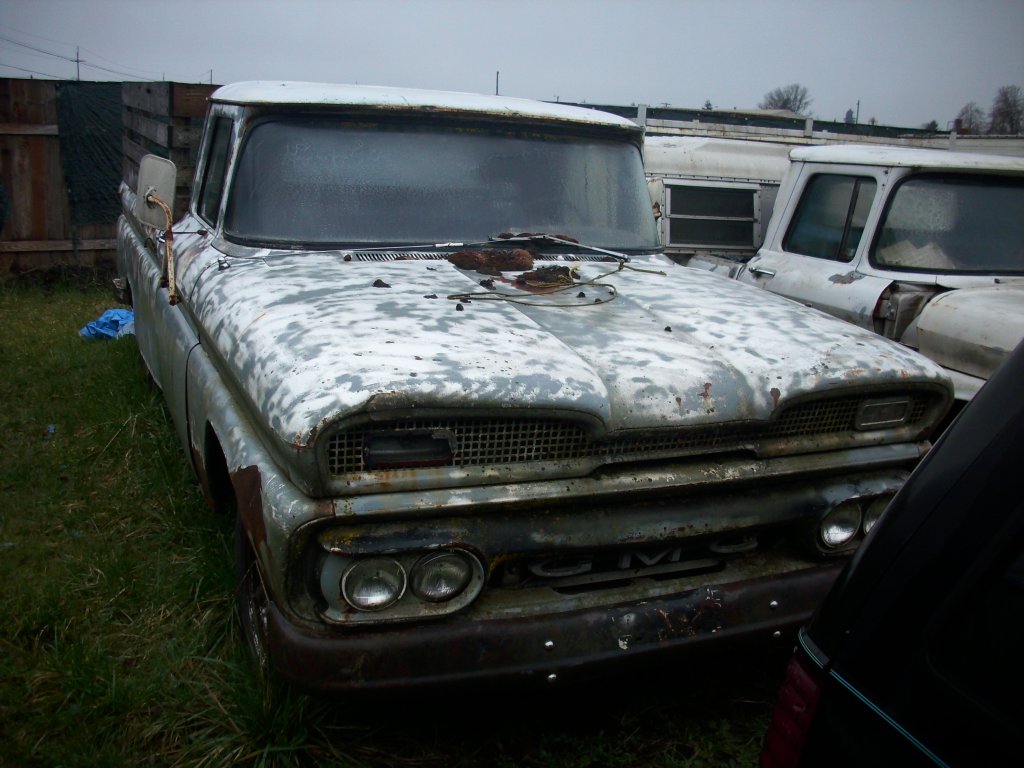
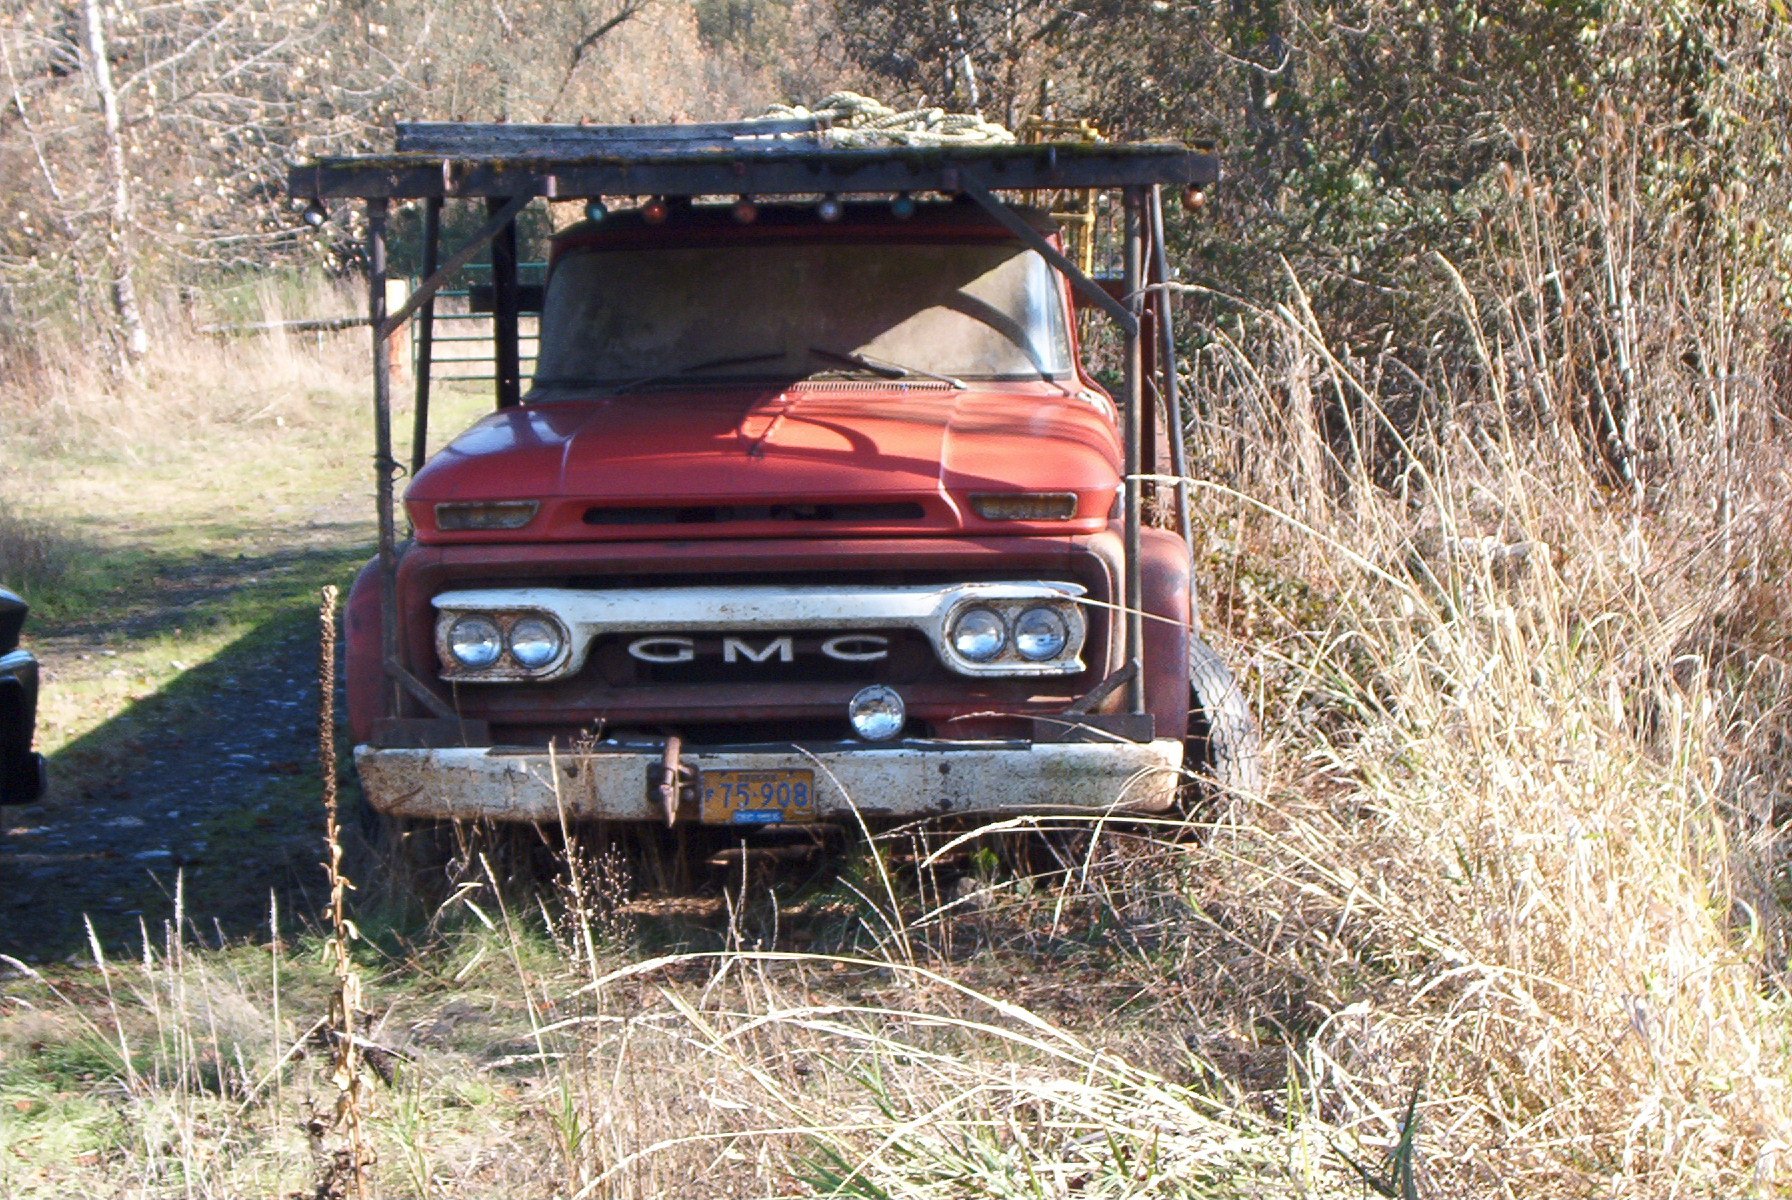
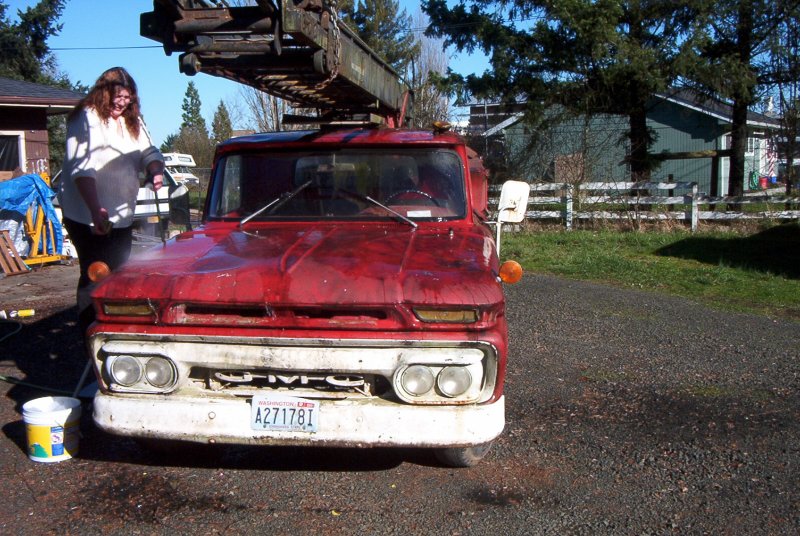
A replica of a 1960 GMC pickup. Very detailed. I see
these on eBay from time to time, but this one is special. My father-in-law
bought it for me while he was out here visiting. Brand new, promotional
for Car Quest auto parts store, where I just happen to buy most of my parts.


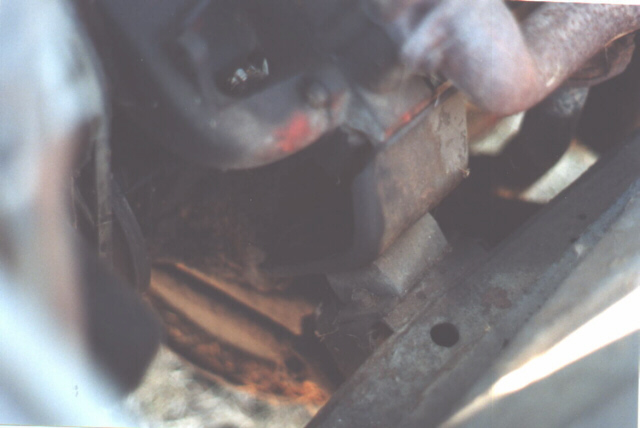
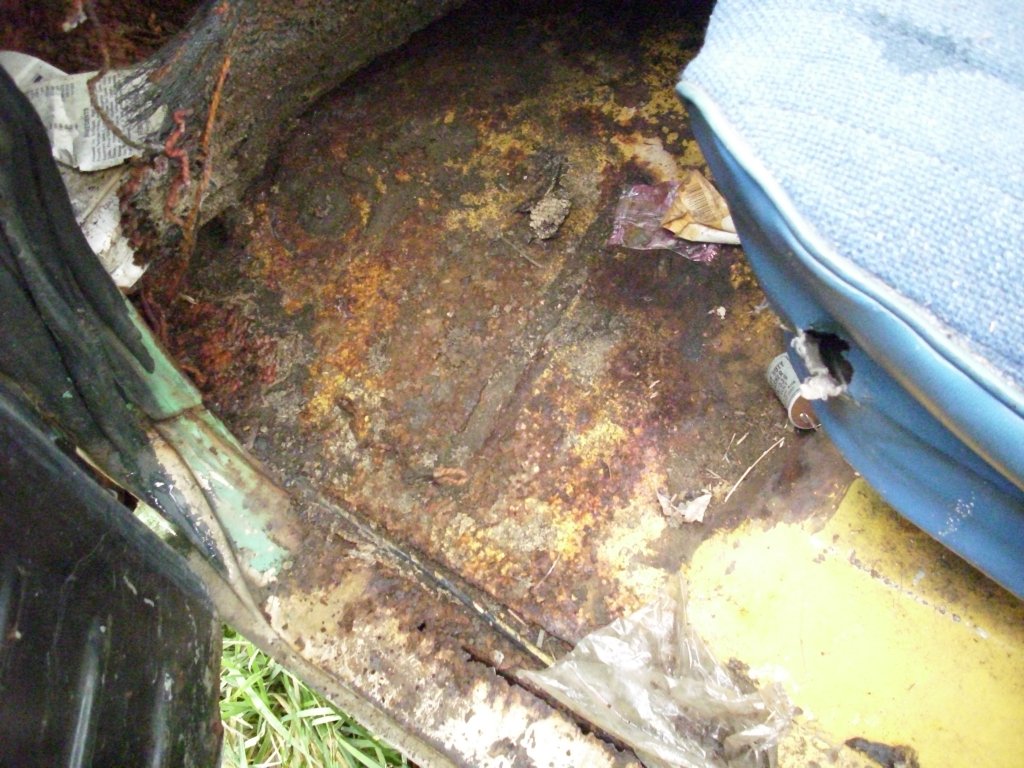


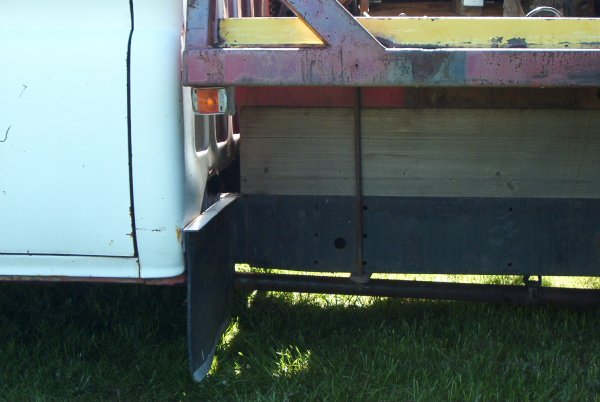
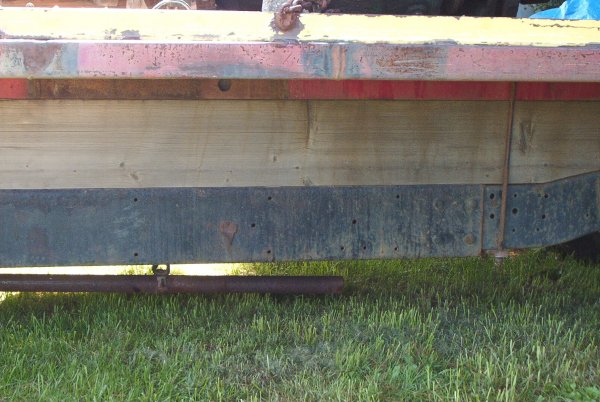
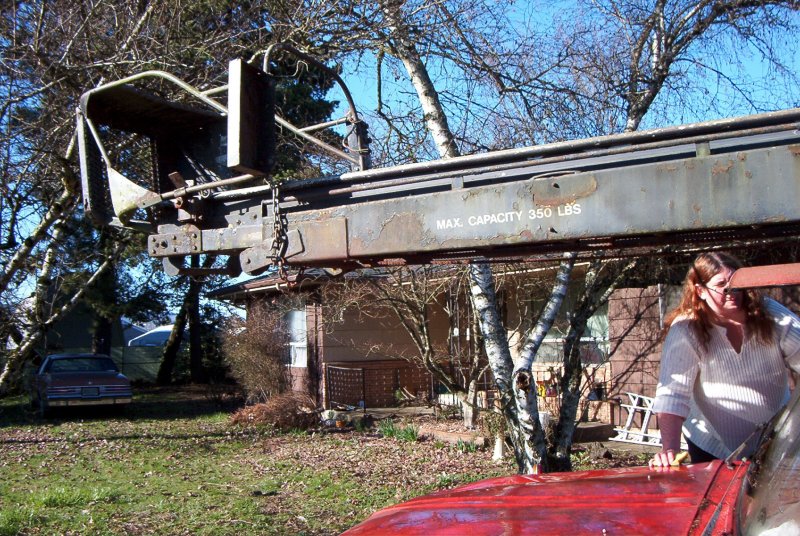
Close up of the frame extension. Channel Iron bolted to the
ends of the cut on the original frame. With all the other steel above
it, I don't think it is going anywhere.
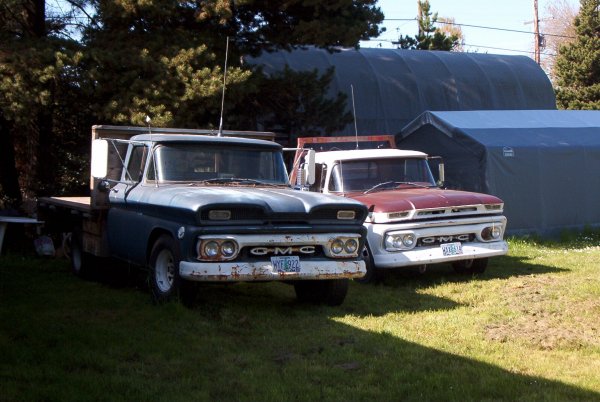
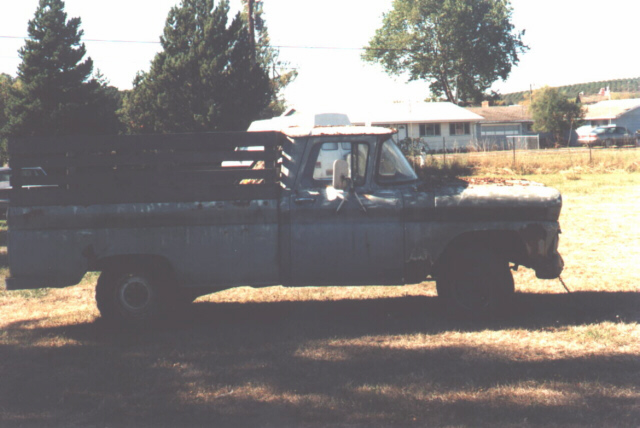
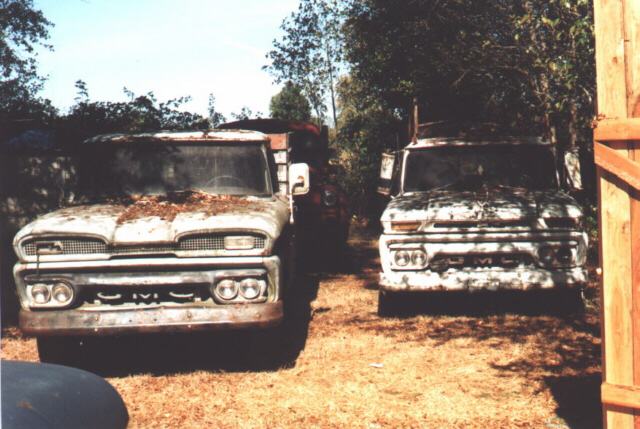
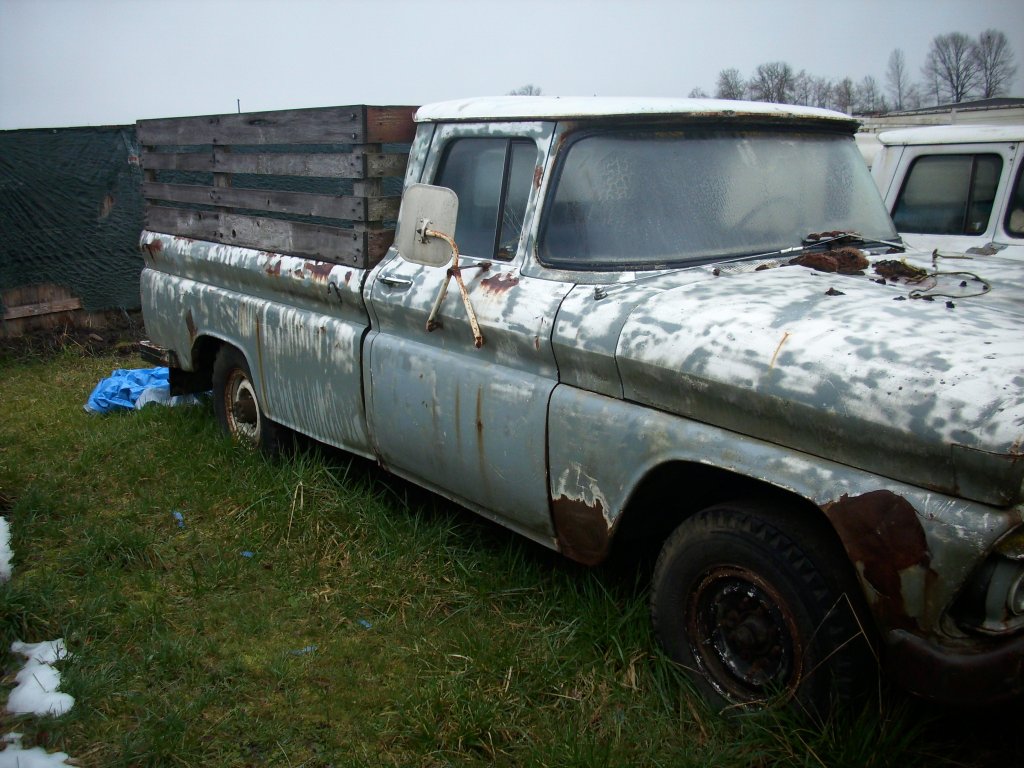
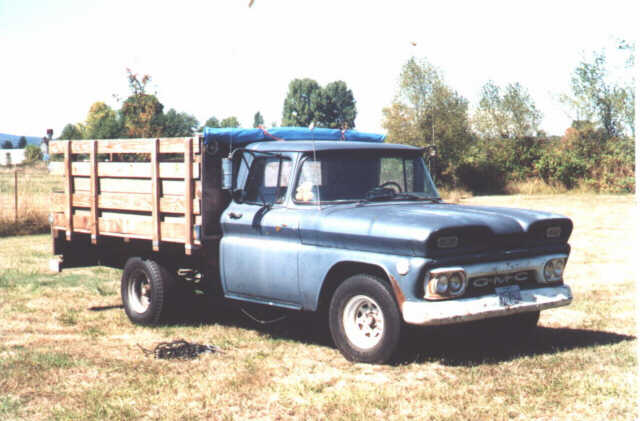
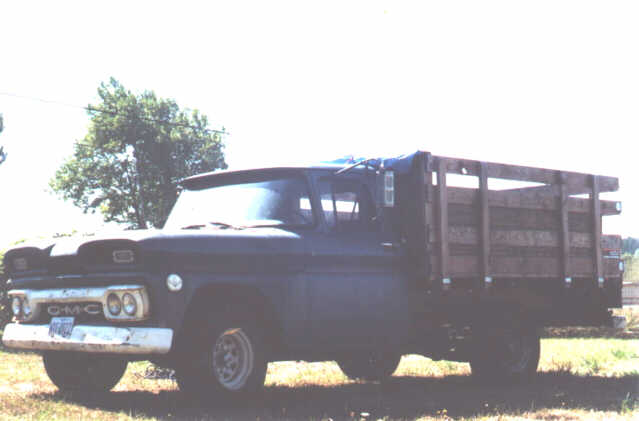
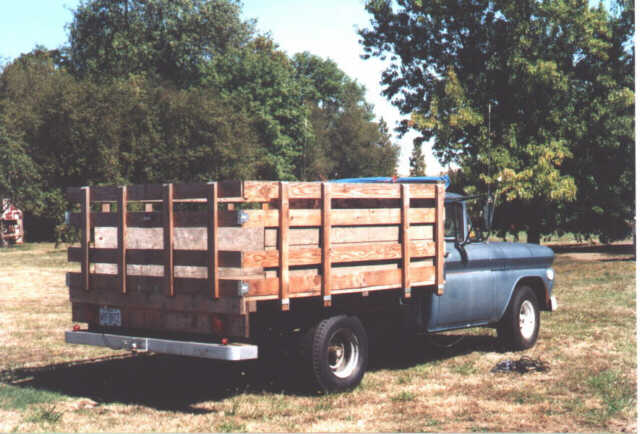
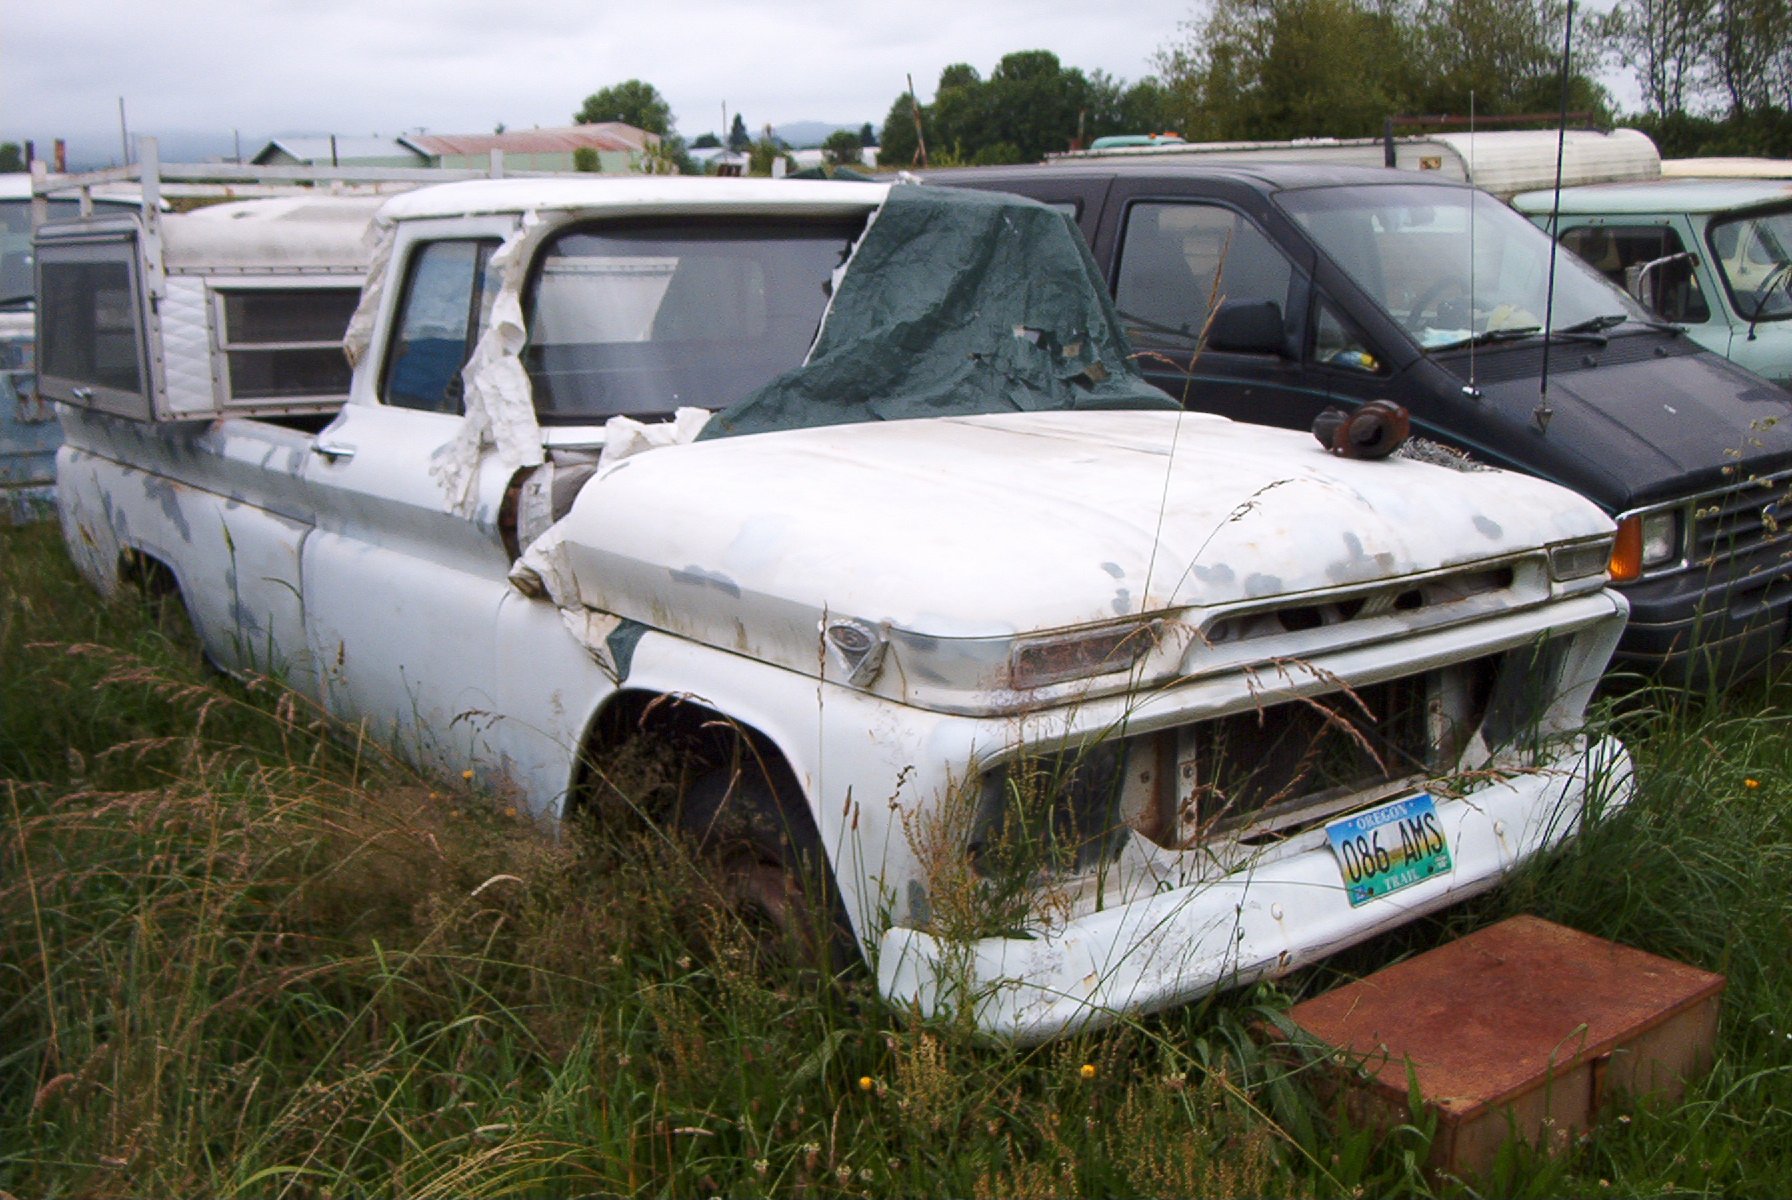
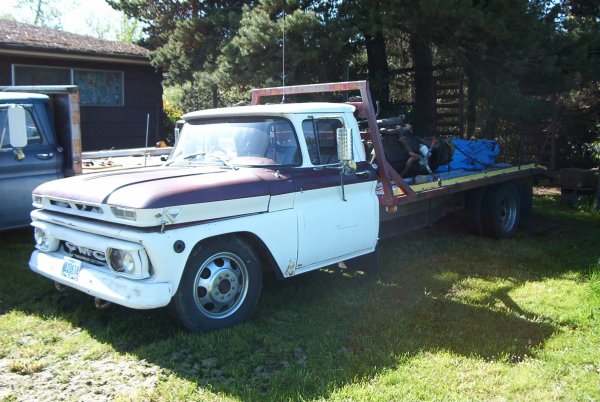
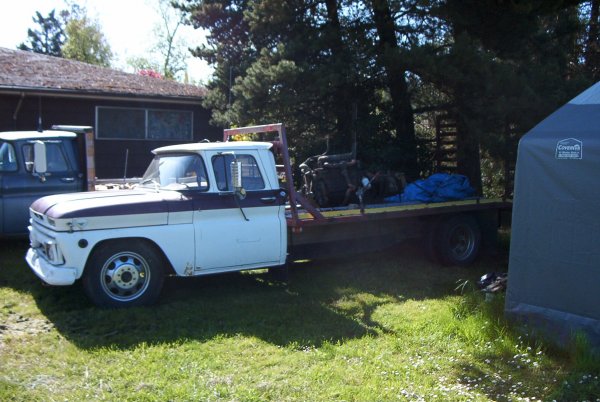
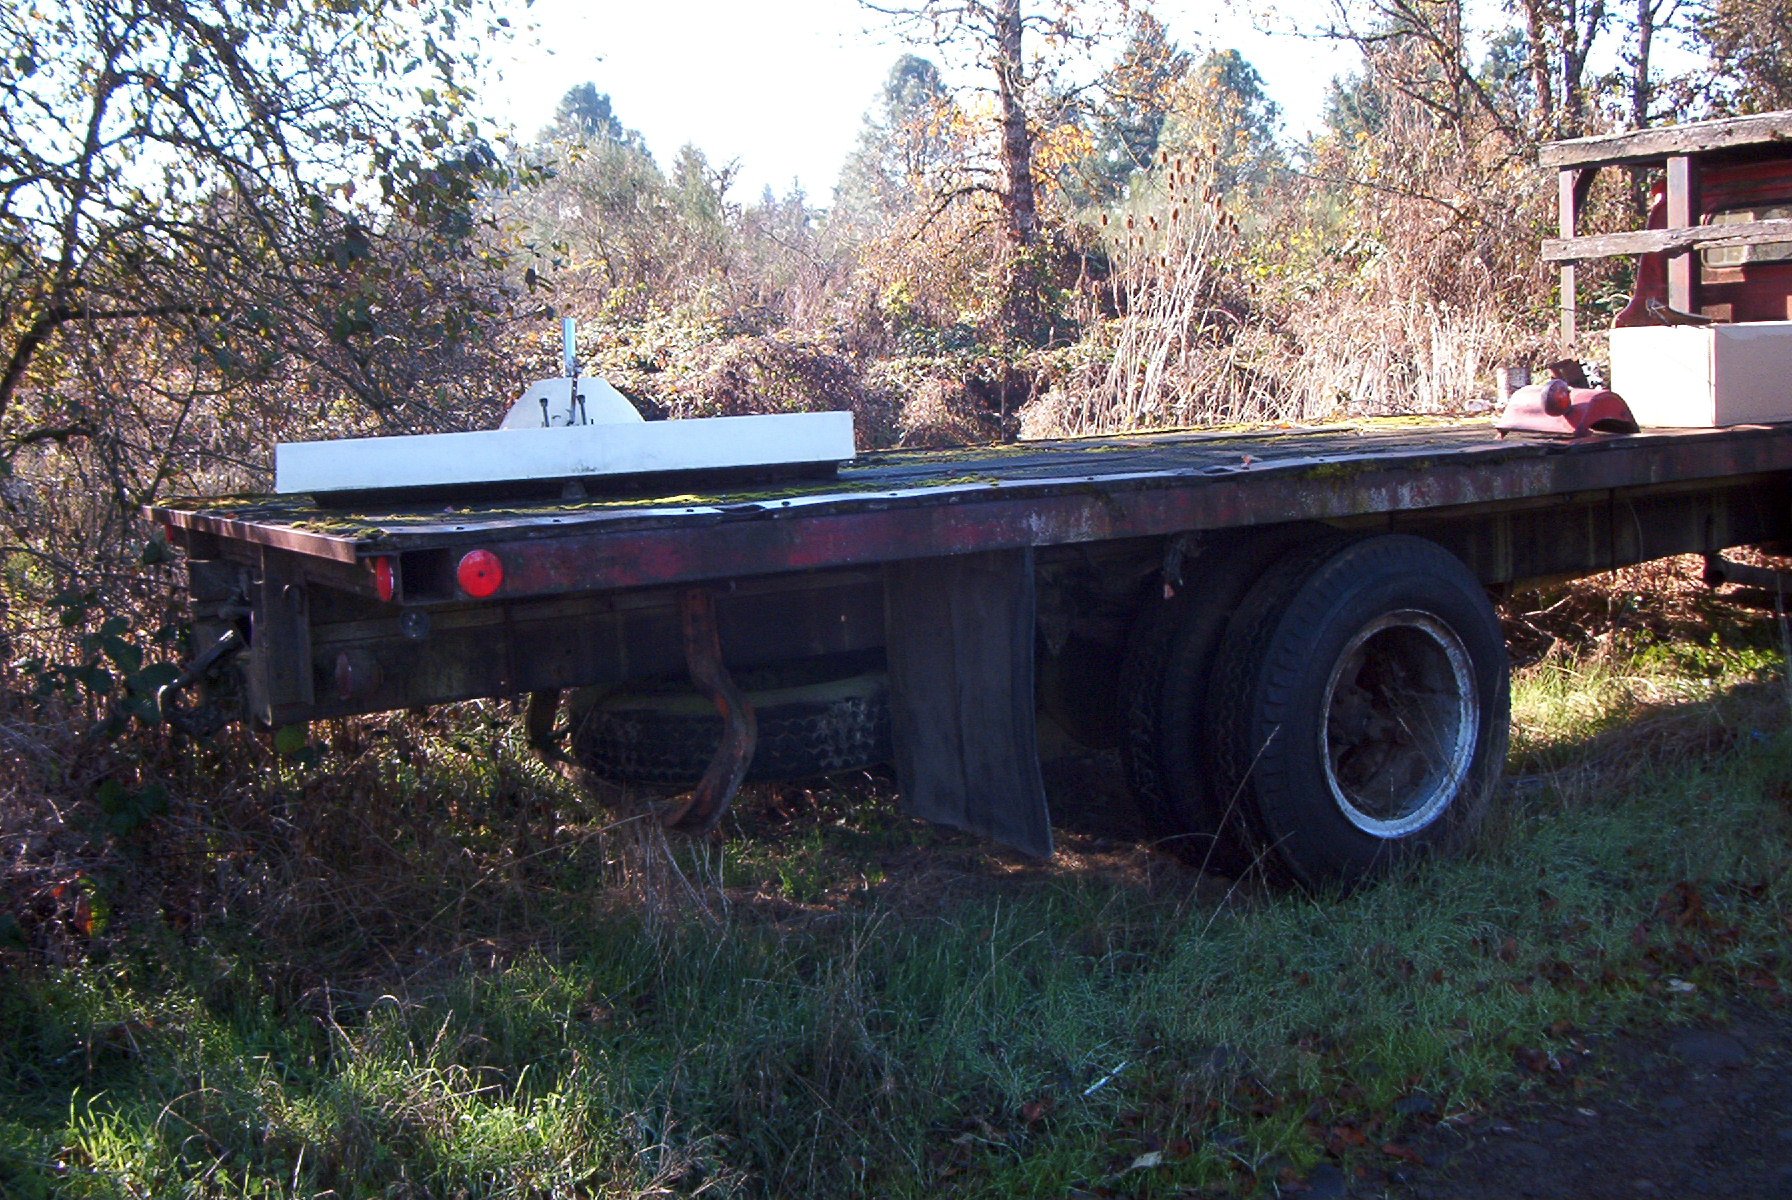
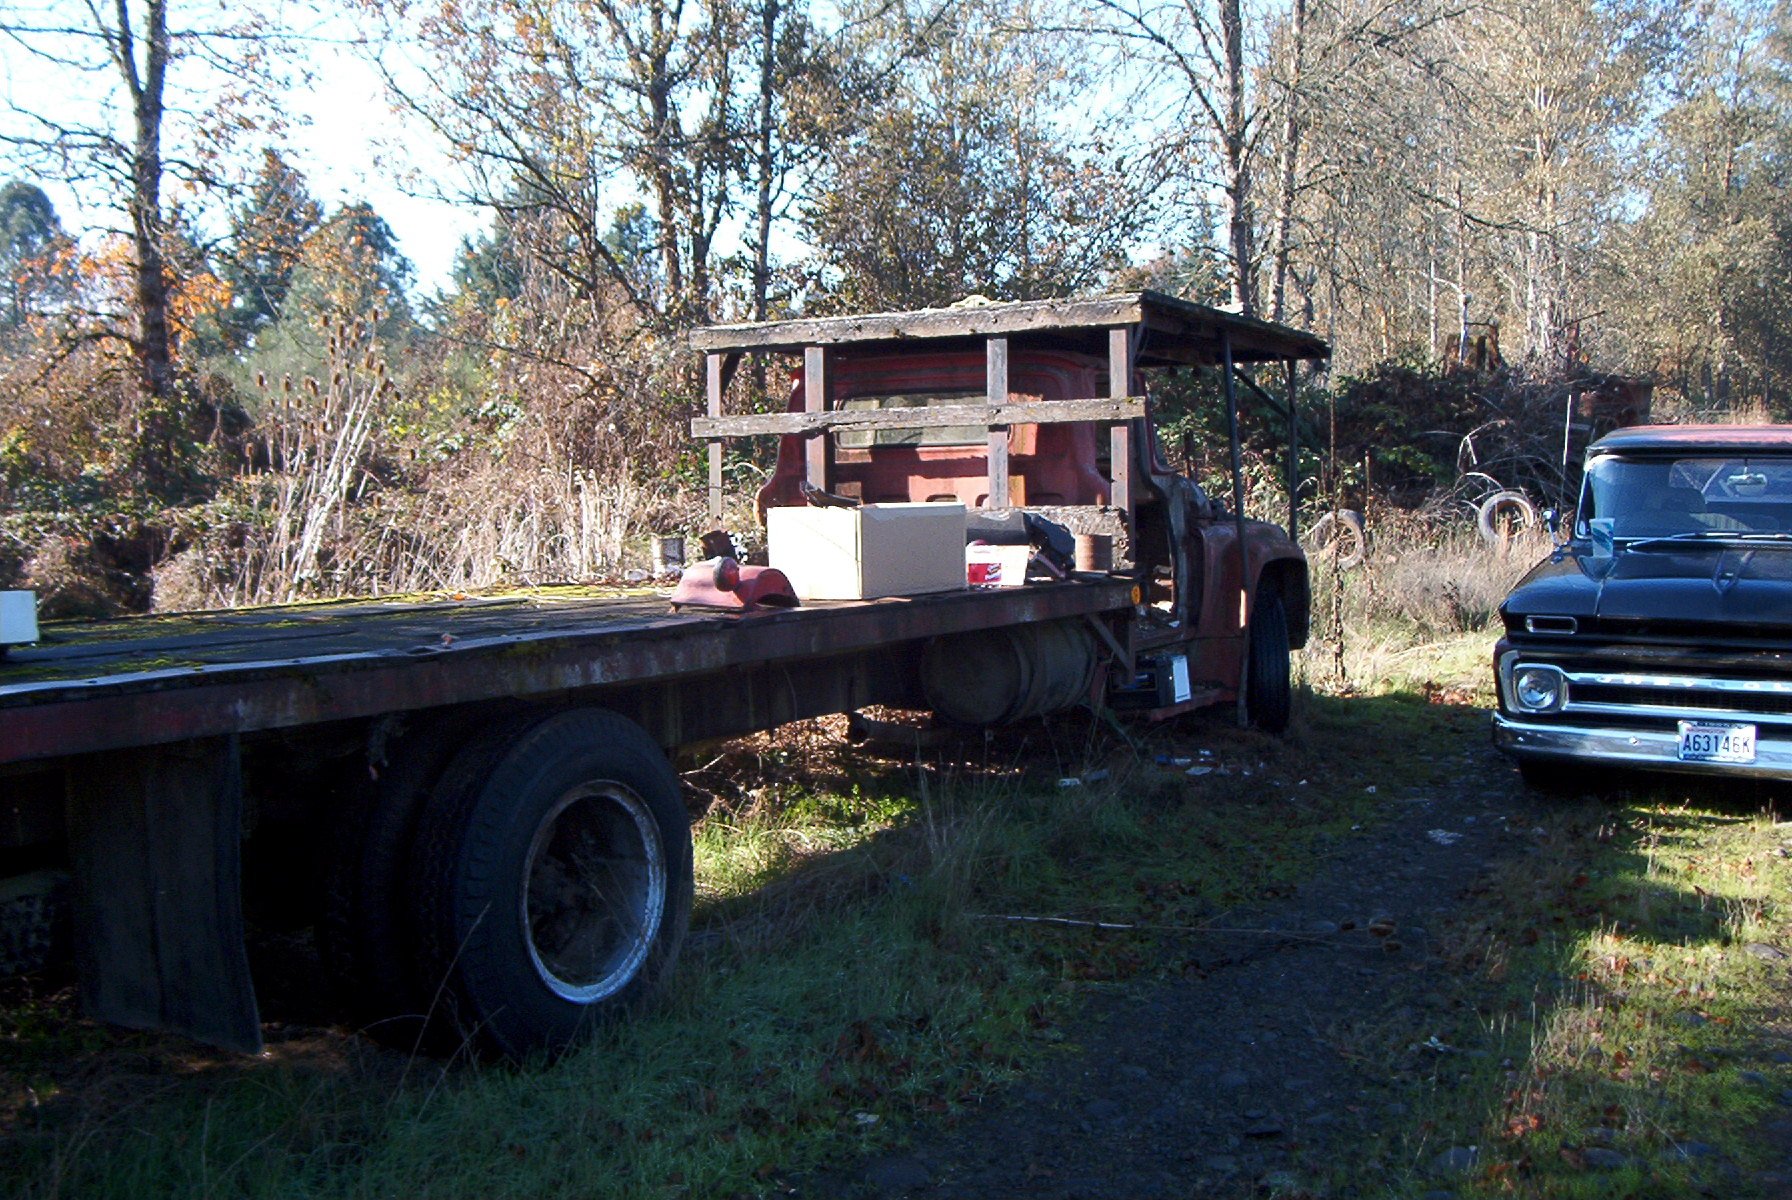
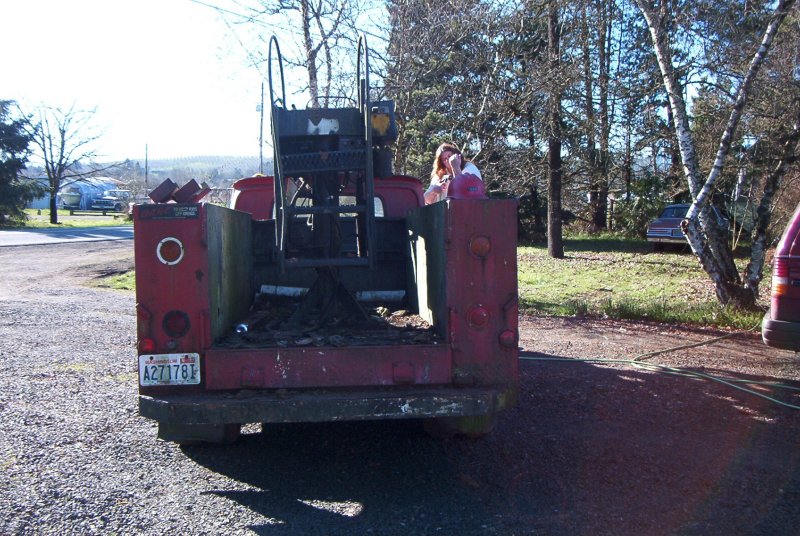
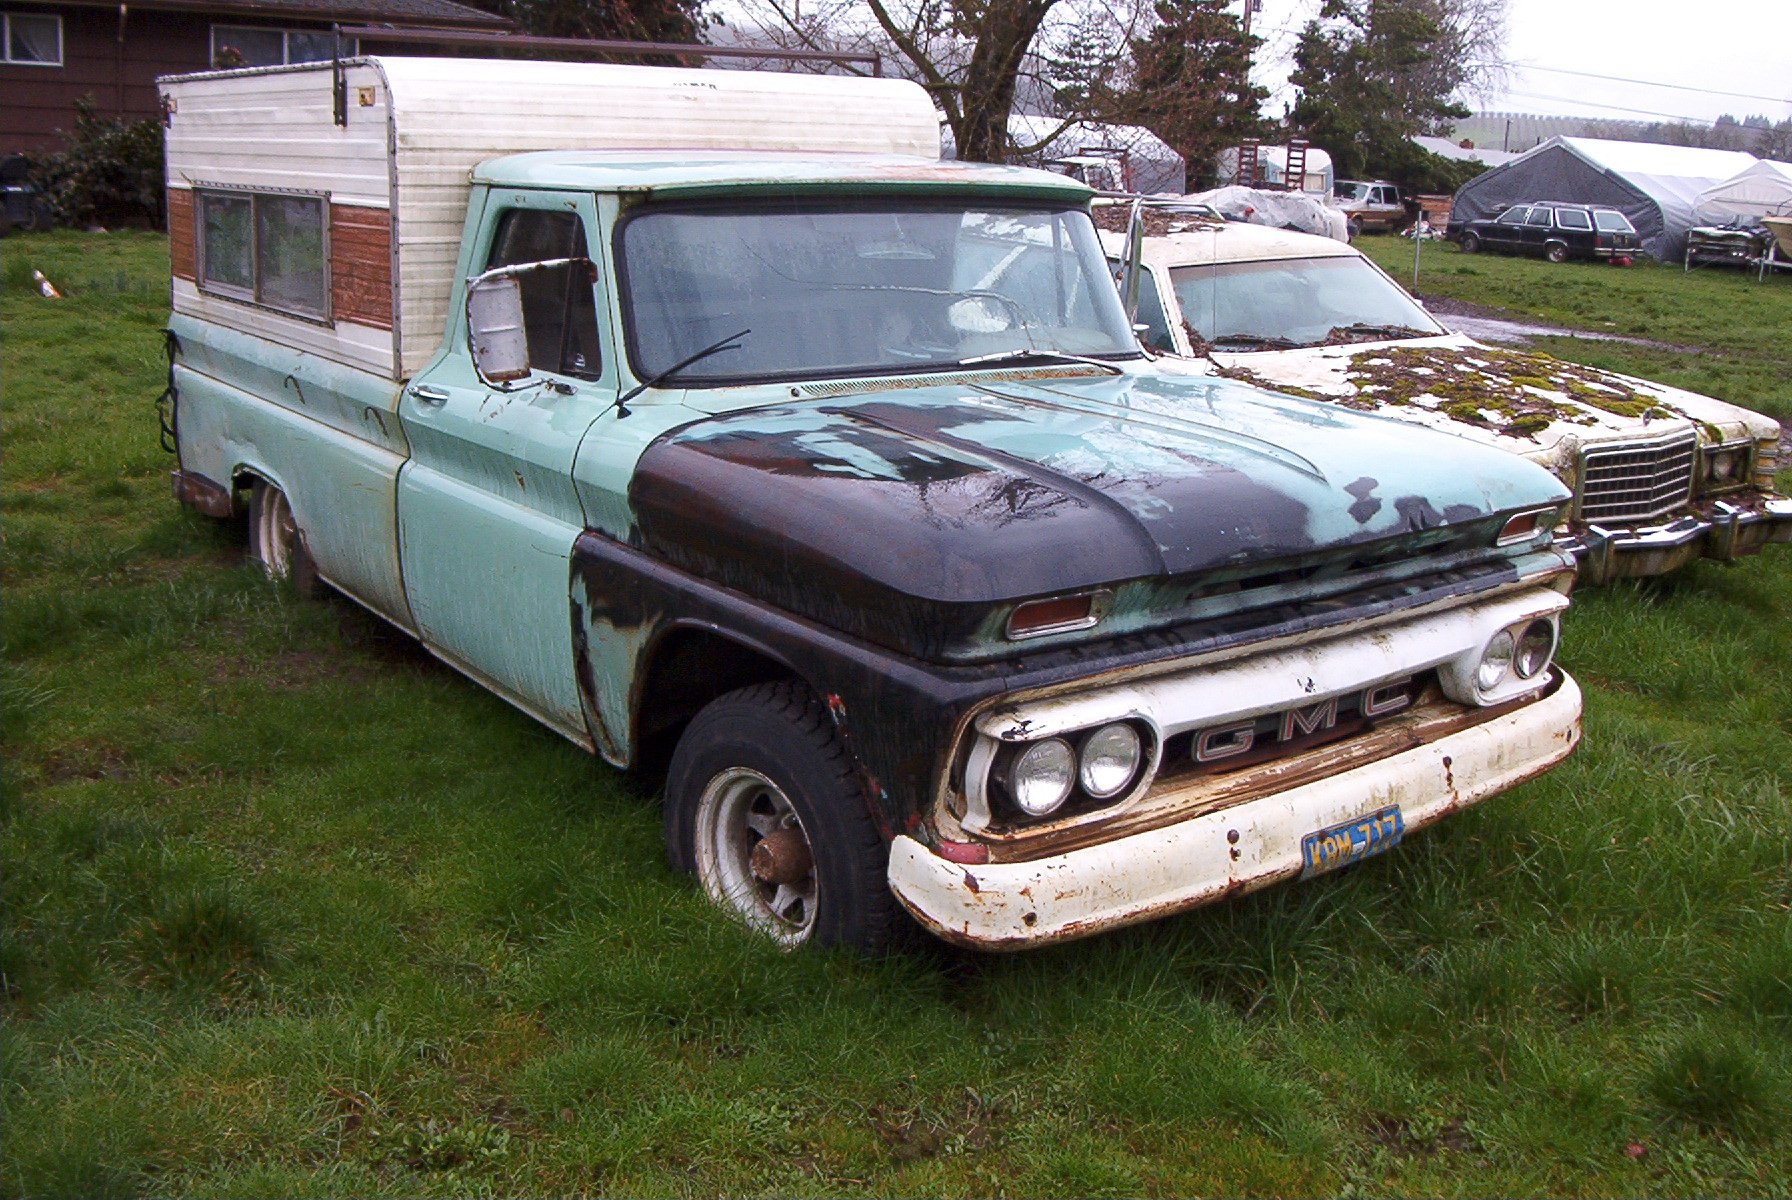
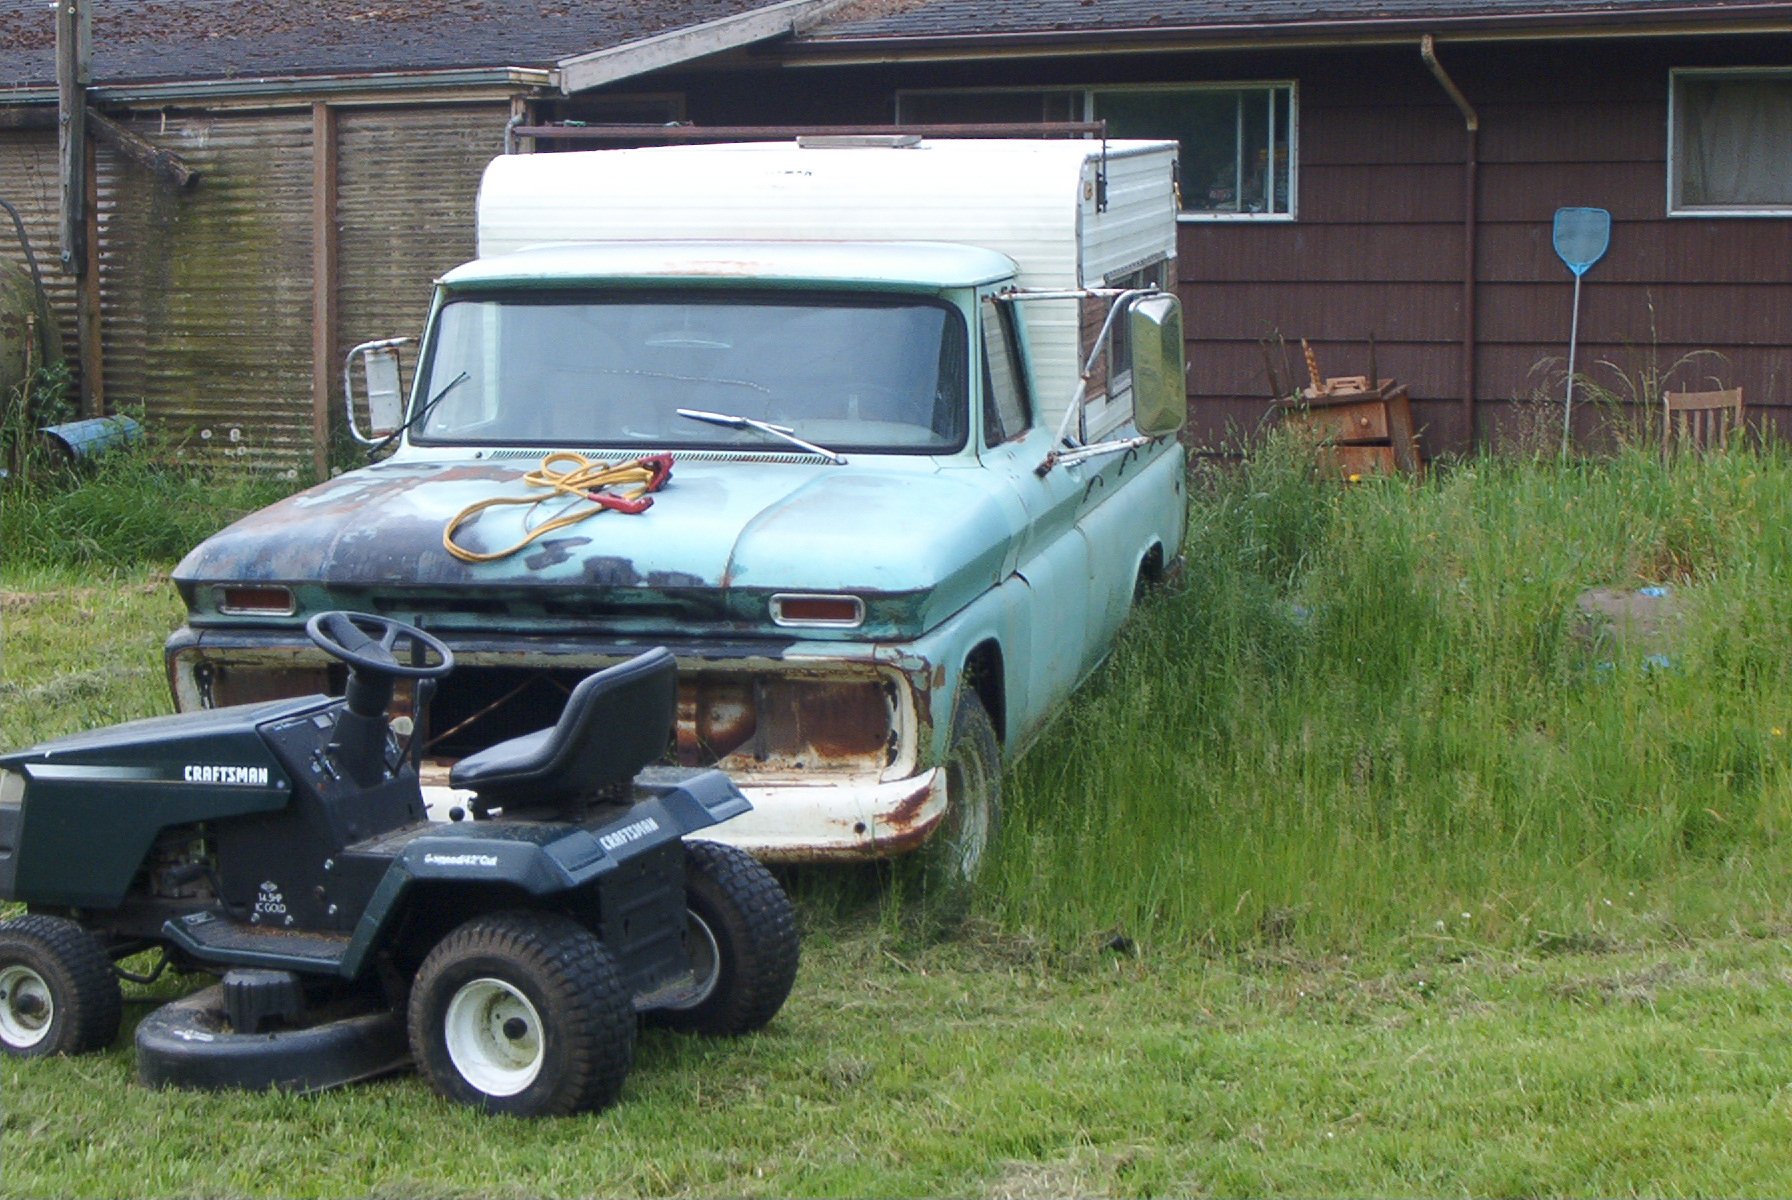
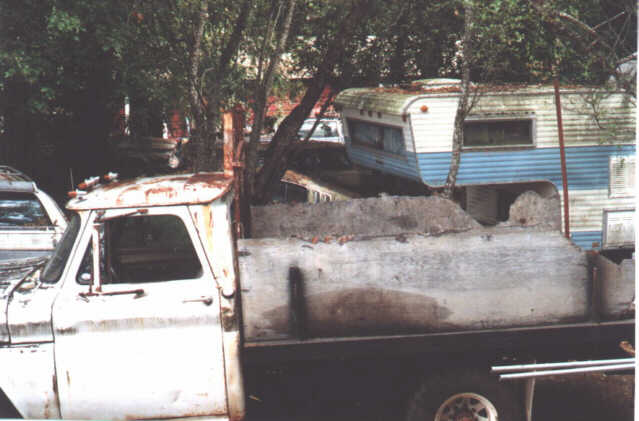
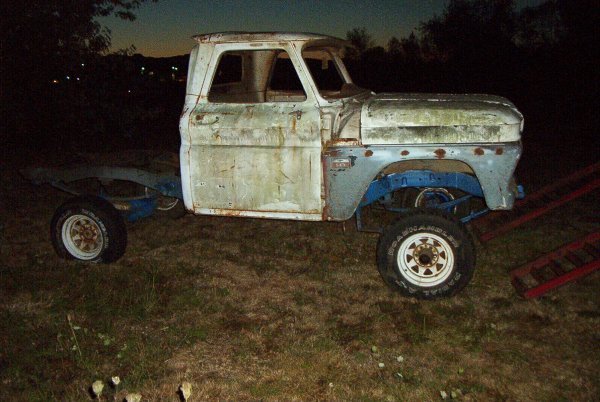
My '61 flatbed sitting next to the '63 carhauler.
I have installed a 351 v6 in my '63.
Click Here To see the progress.


 More Pictures


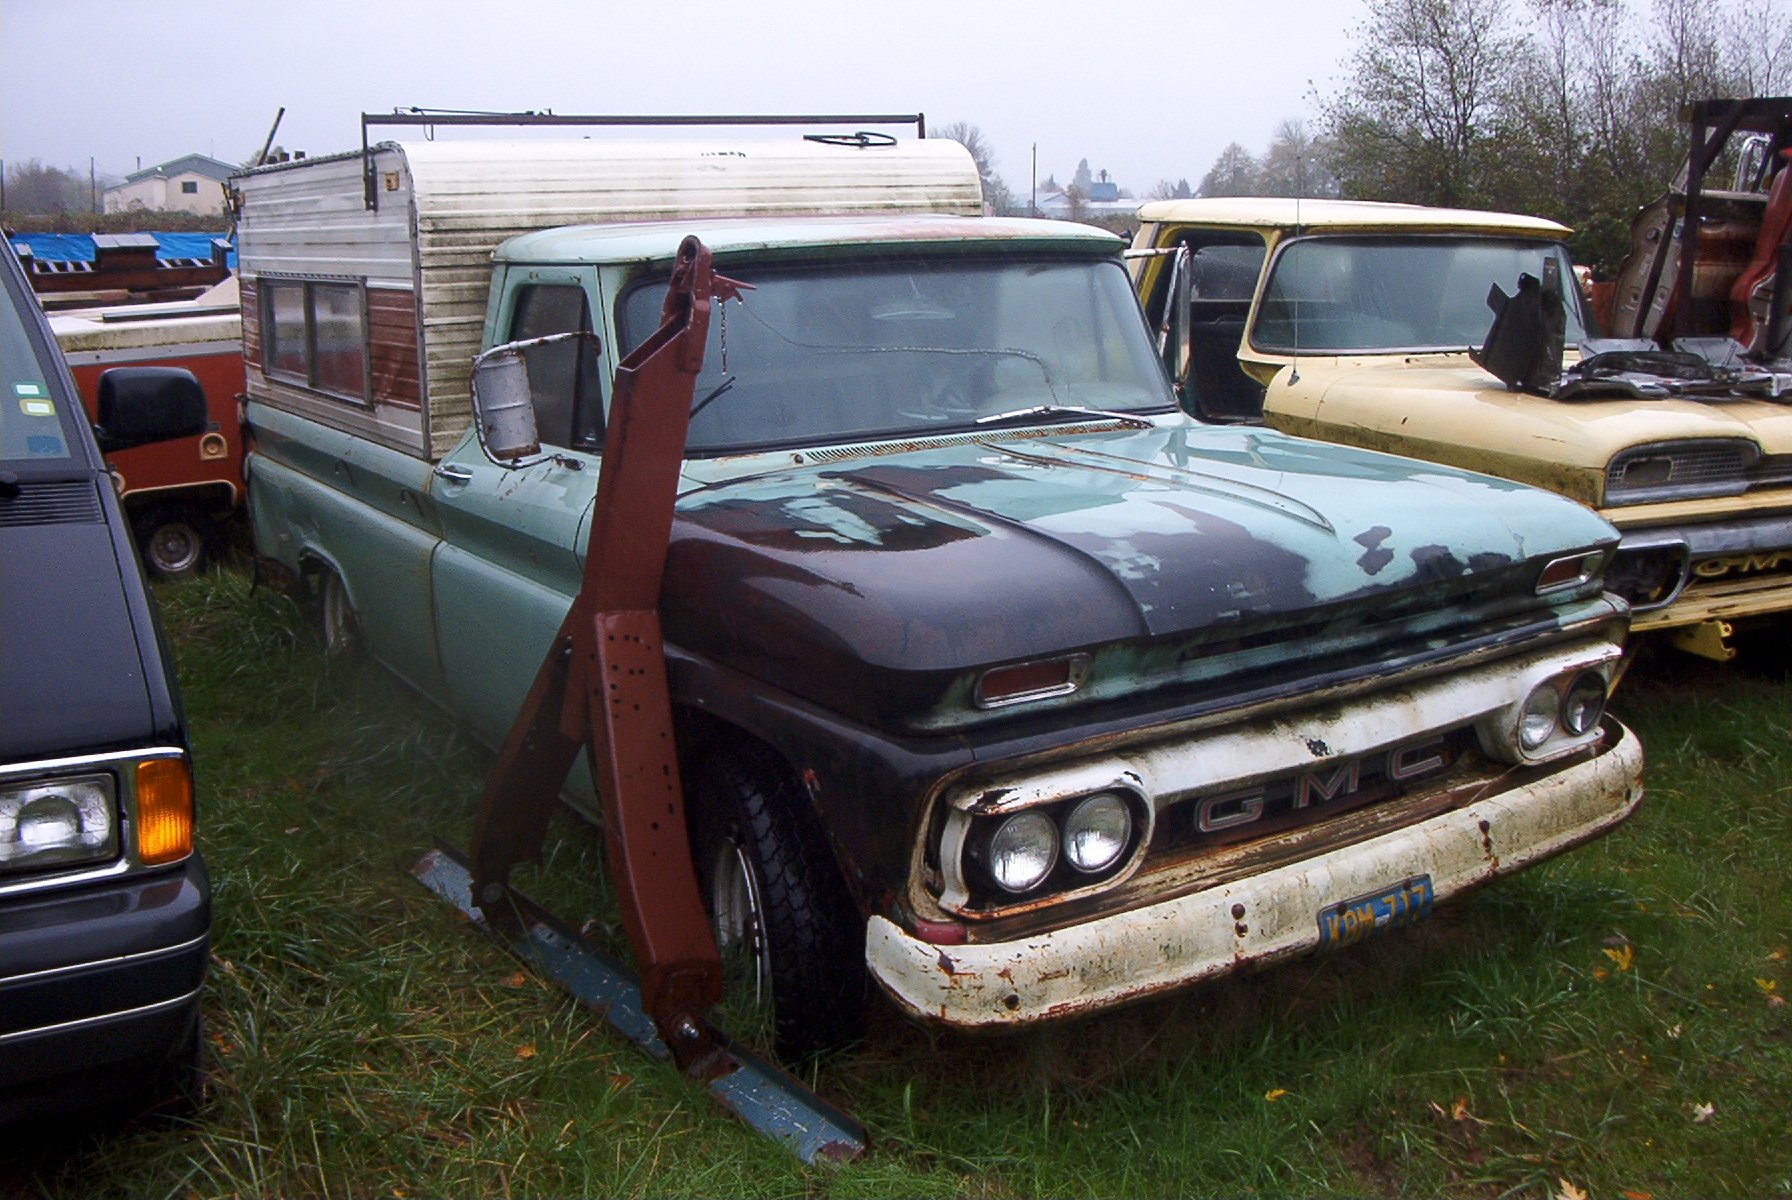

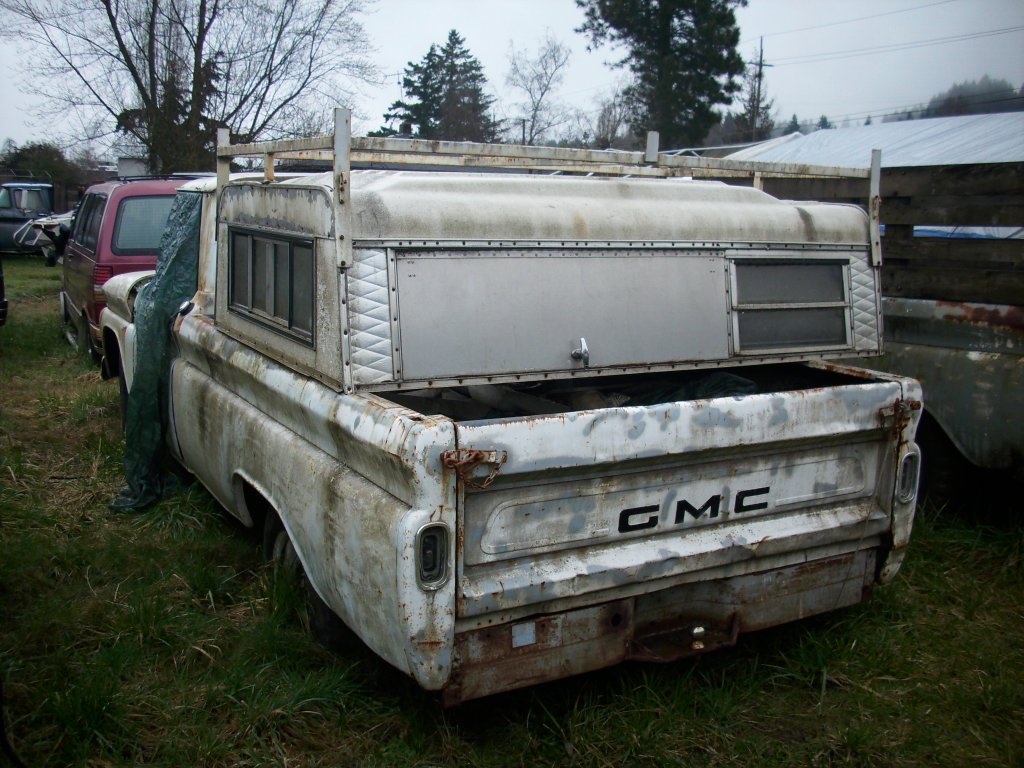
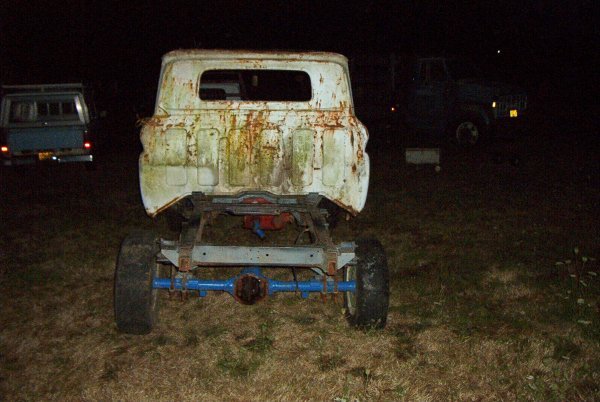
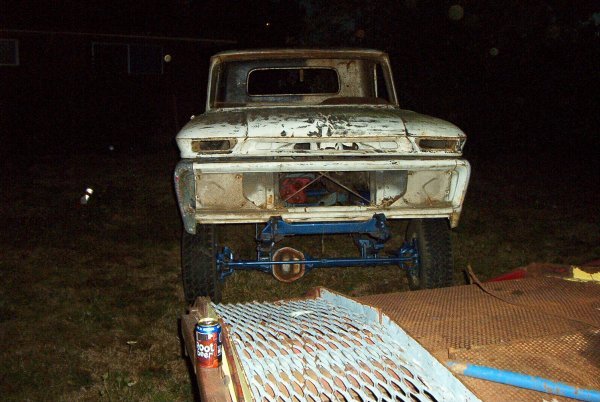
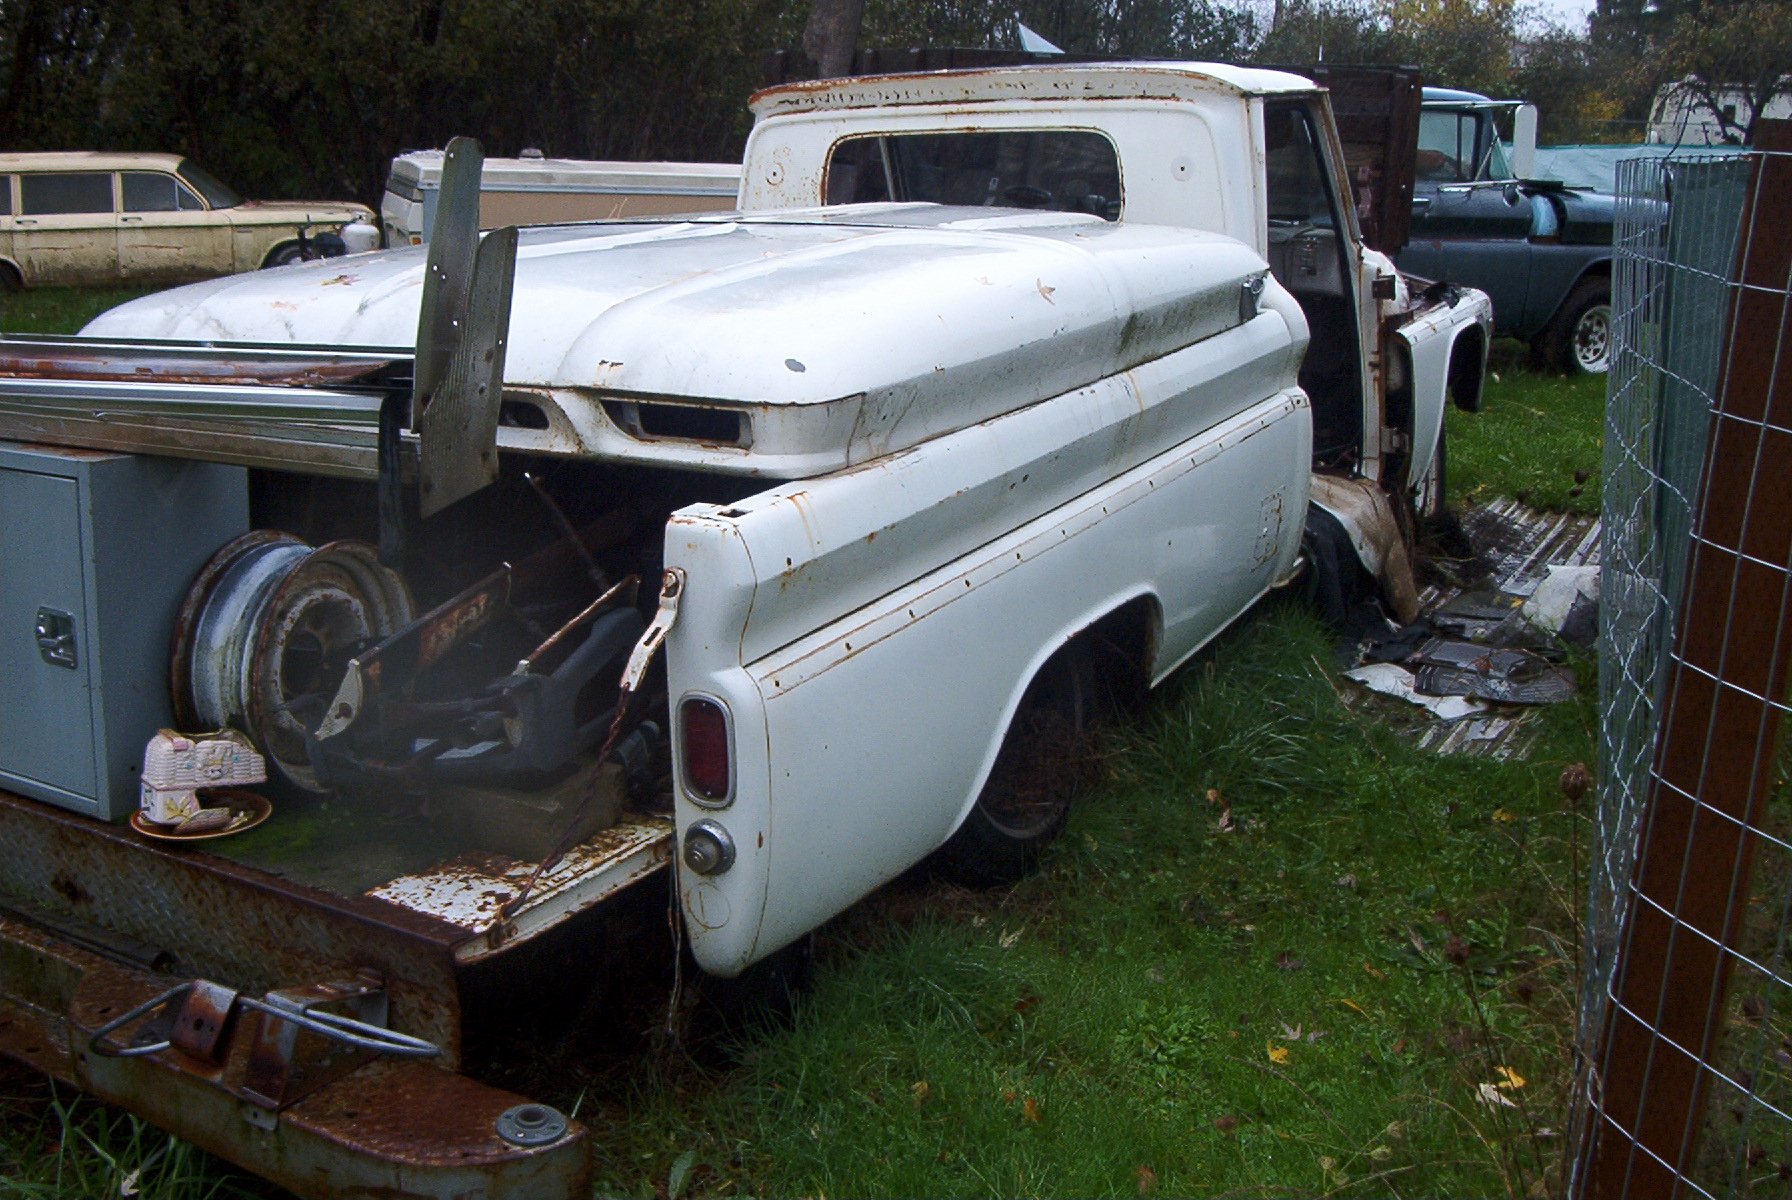
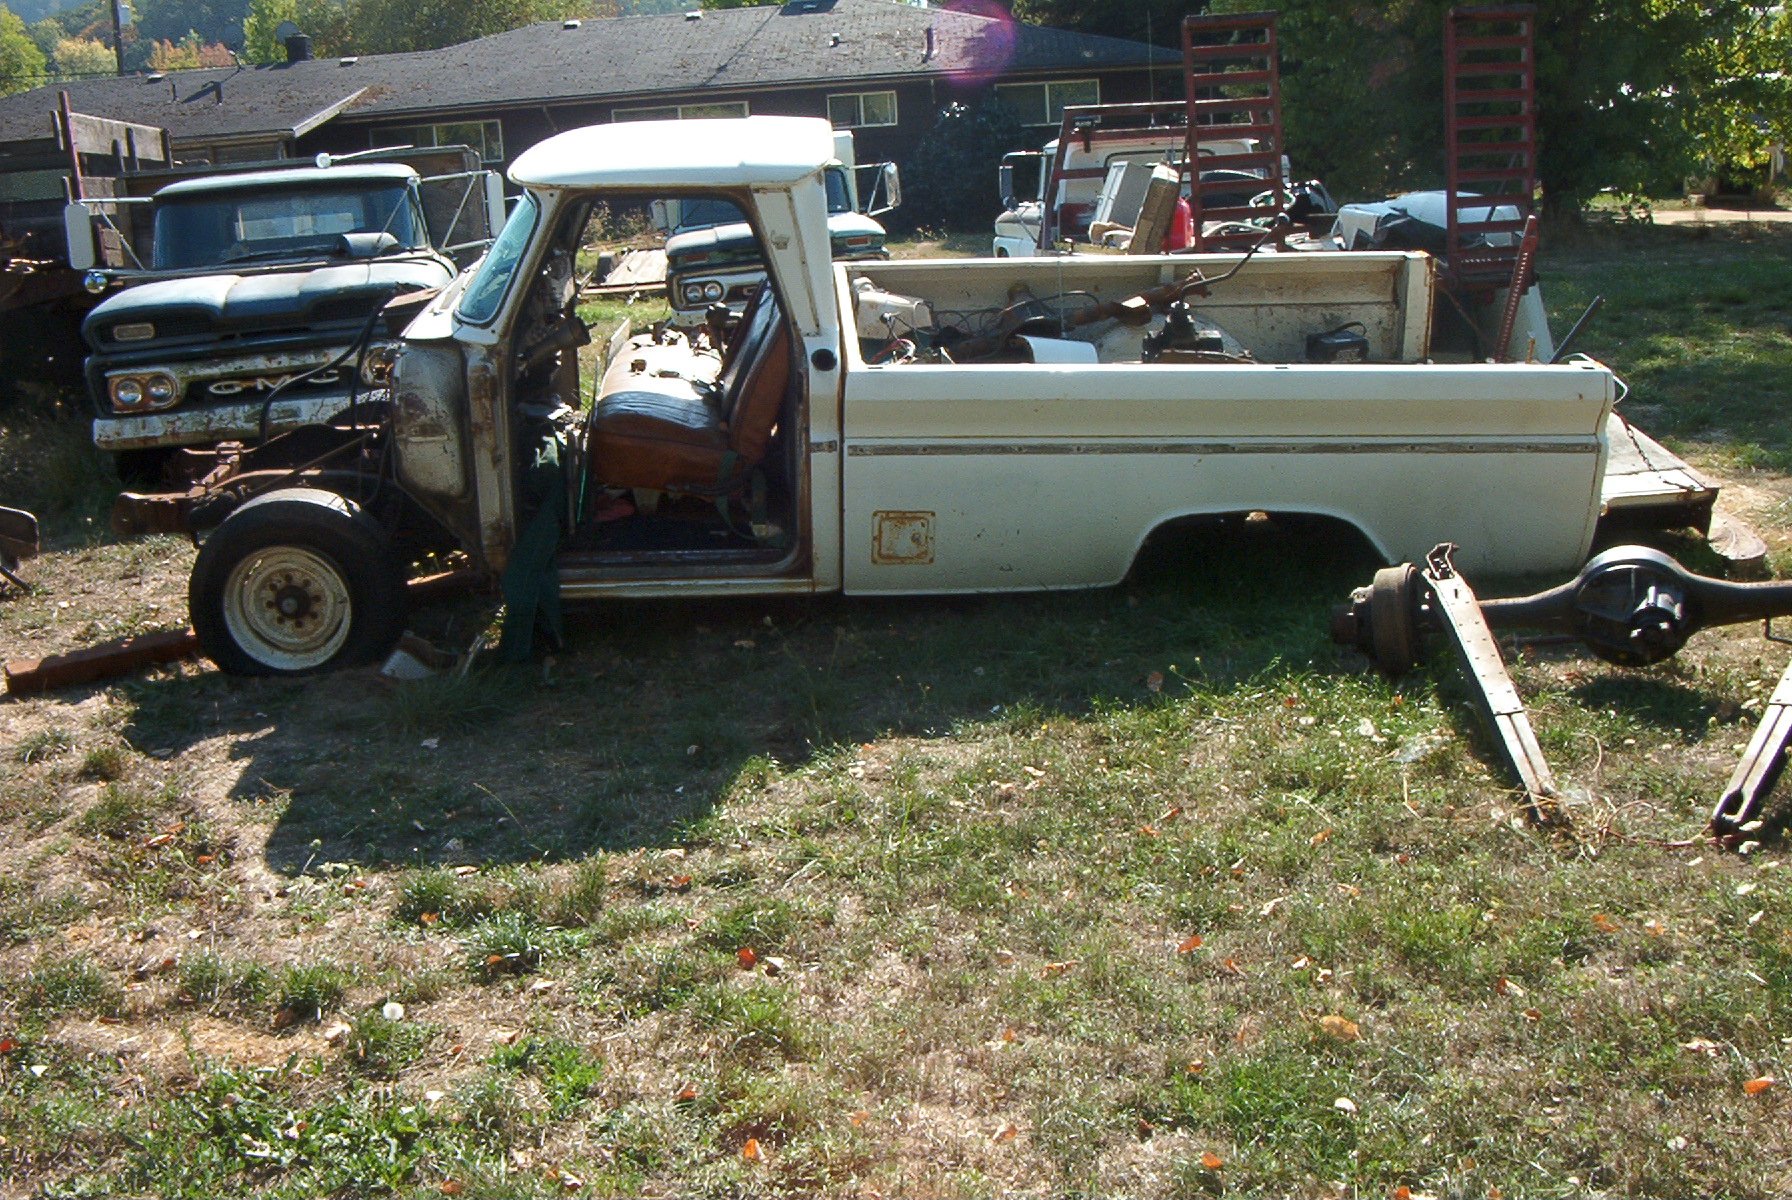
1966 GMC 1500 truck. Bought solely for parts. I have already gotten rid of the cab and nose clip, all that is left is the chassis. I had a chance to play with some parts though, I briefly had a 1962 4x4 chassis here, and the person who wanted that also wanted the cab and clip. So to make things easier to haul, I put the body on the chassis. And discovered that the cab mounts on the earlier trucks don't line up at all with the cab mounts on the later trucks. Only mounts that were close were the two for the radiator support.


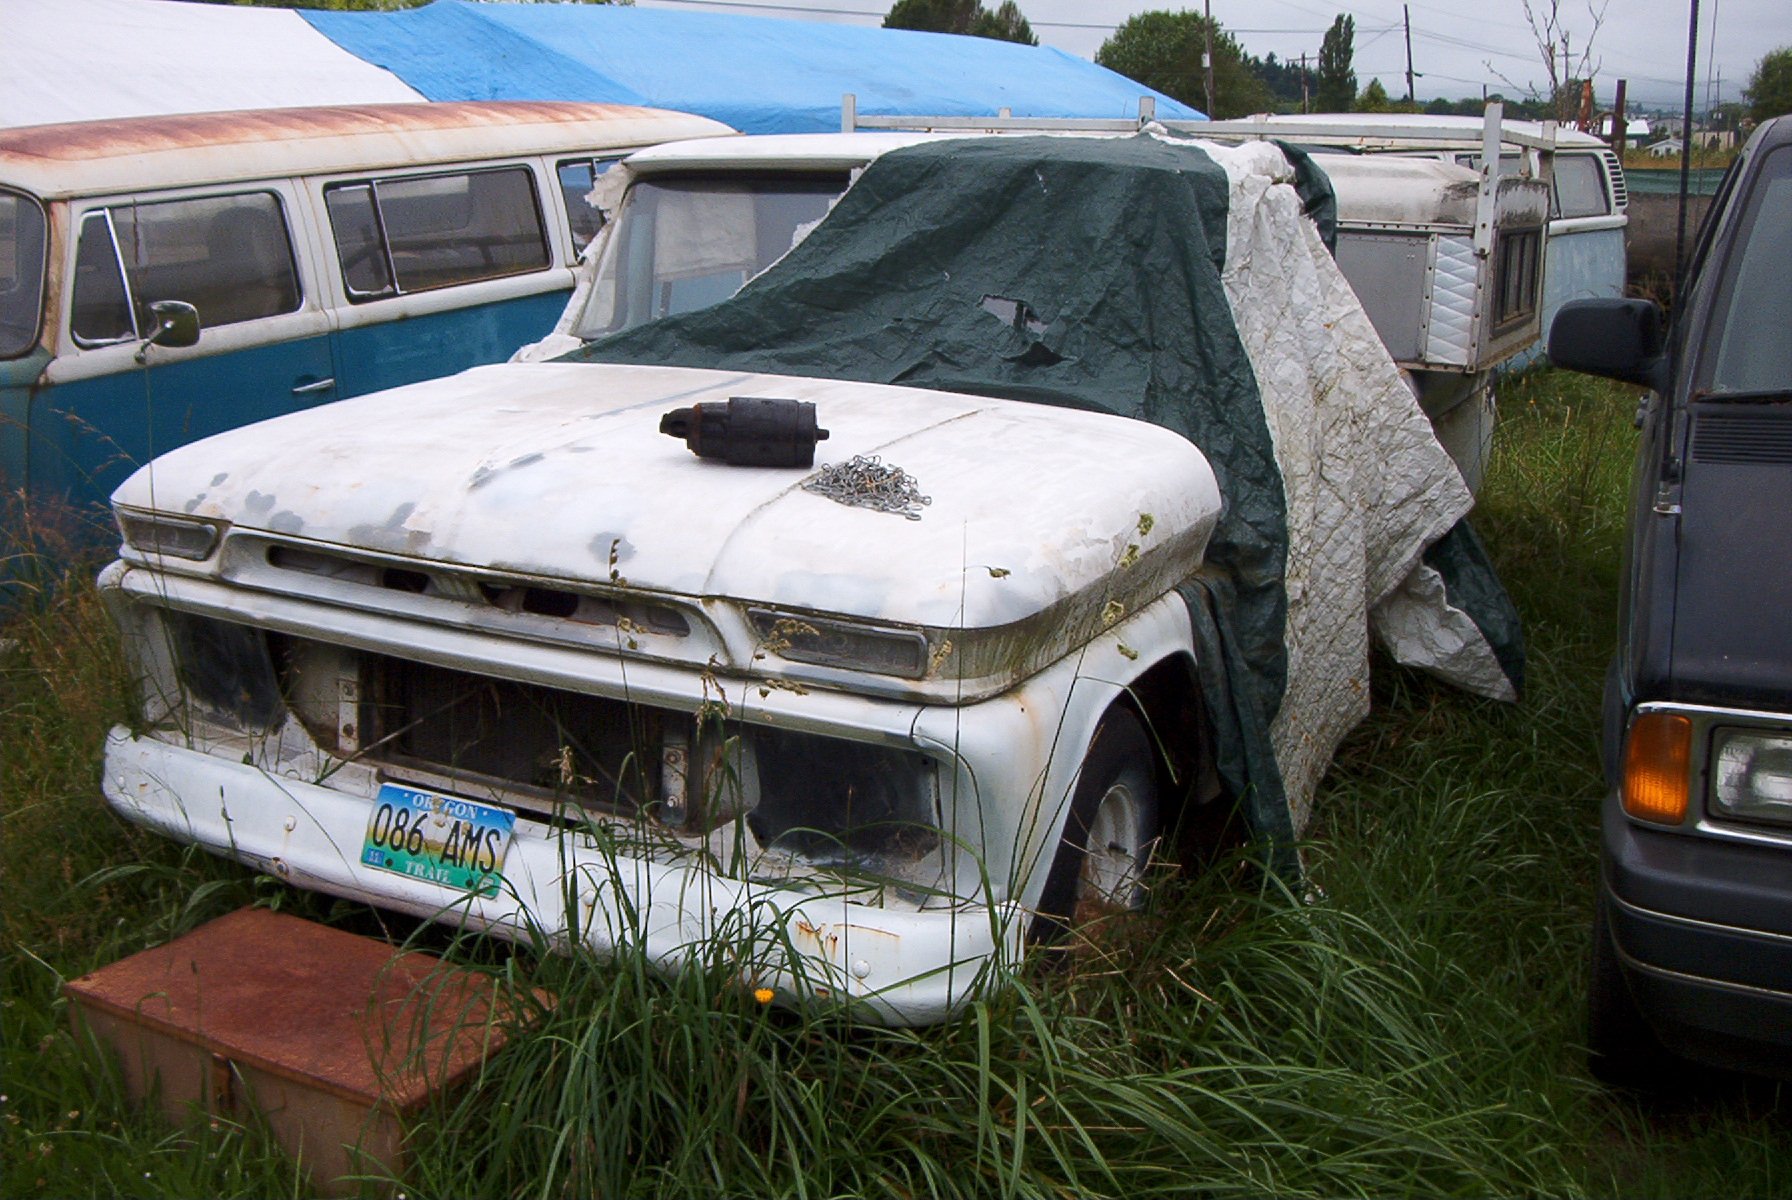
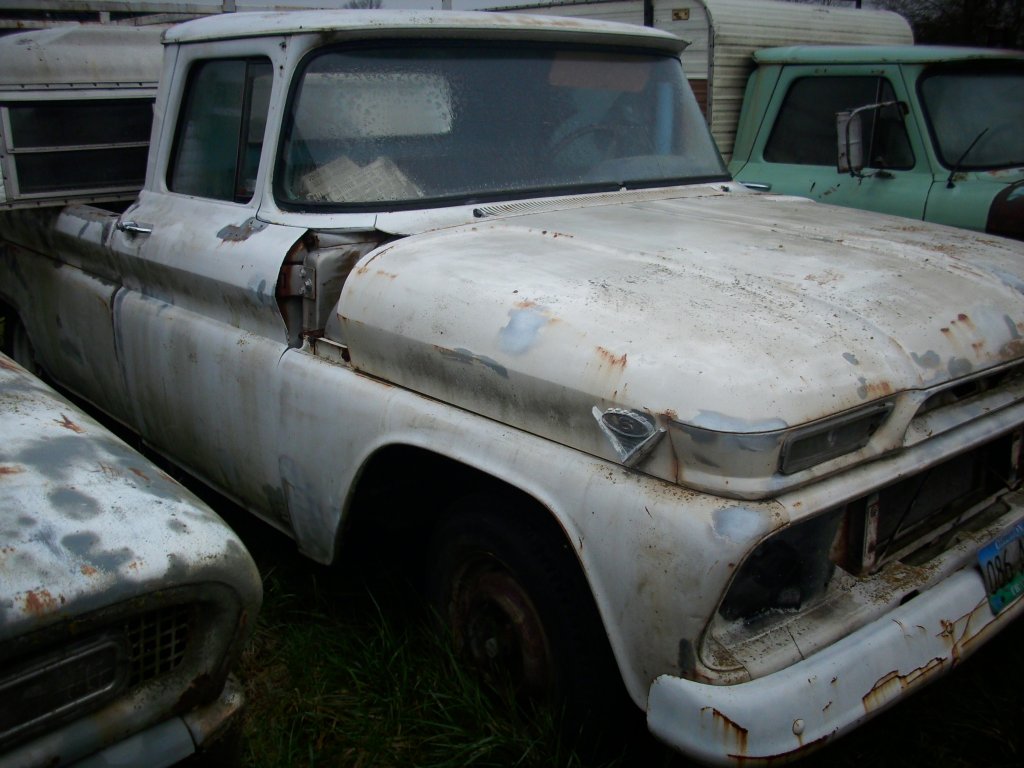
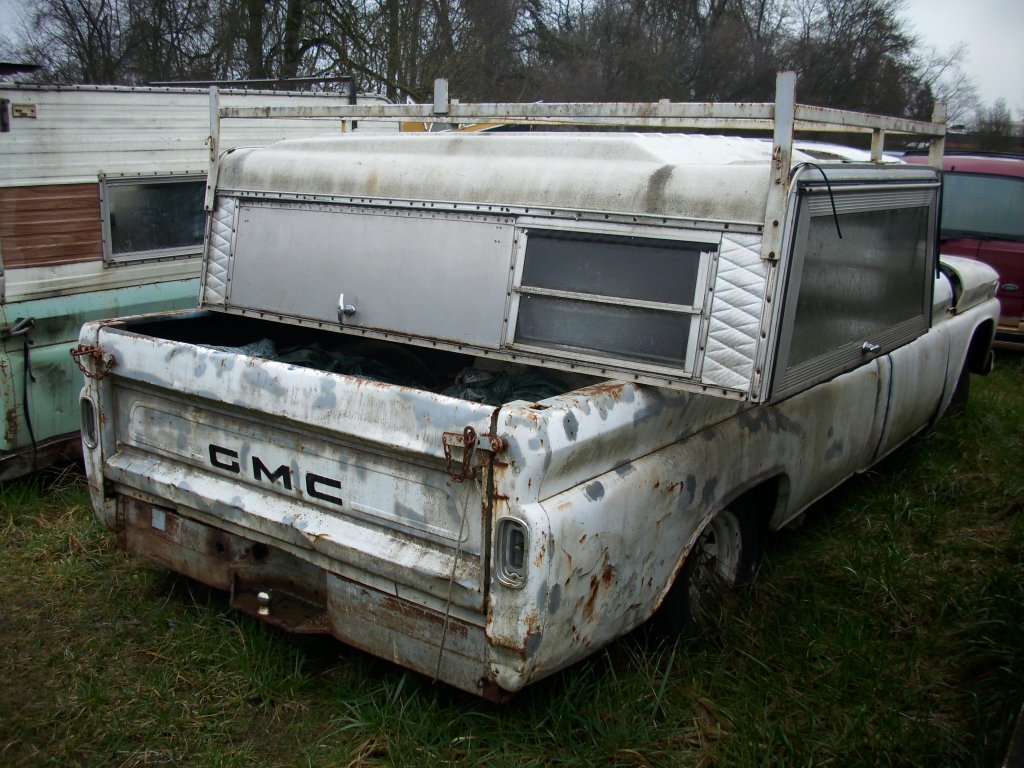
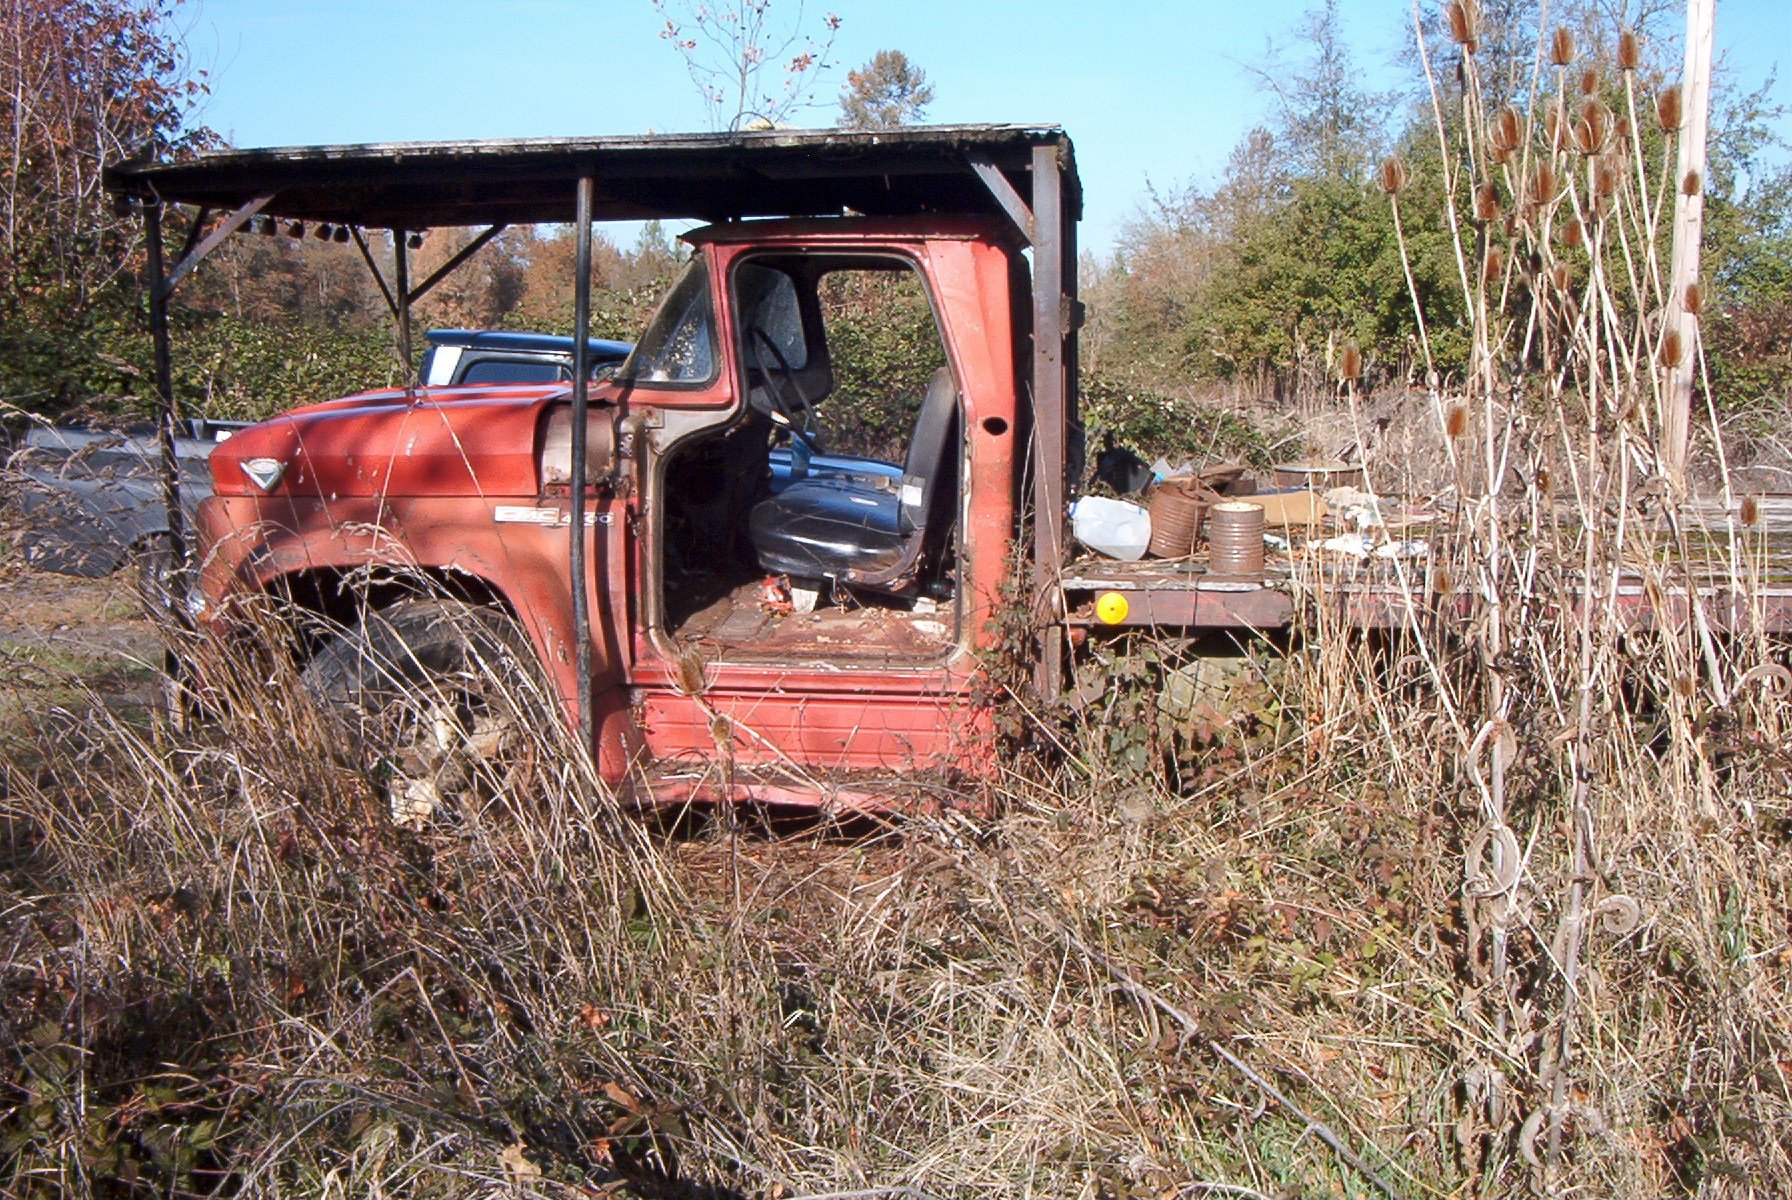
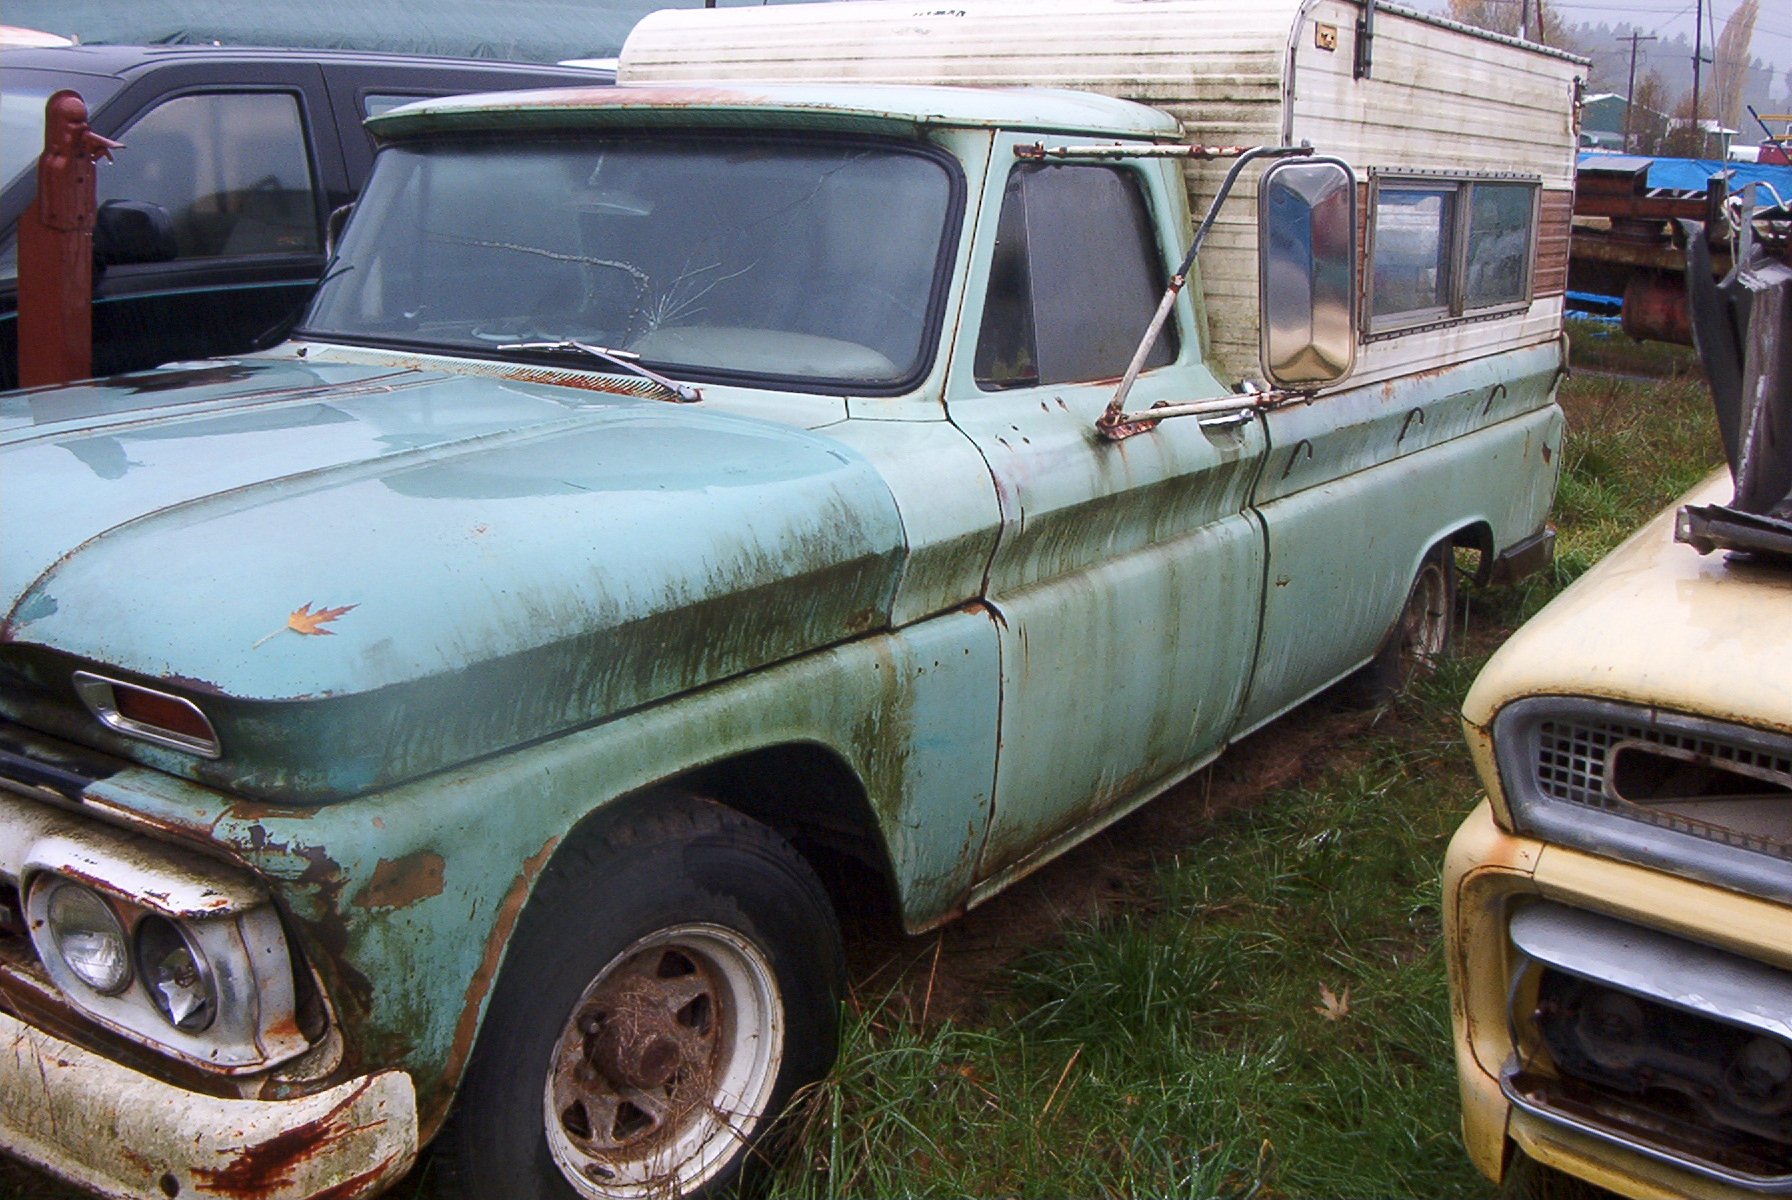
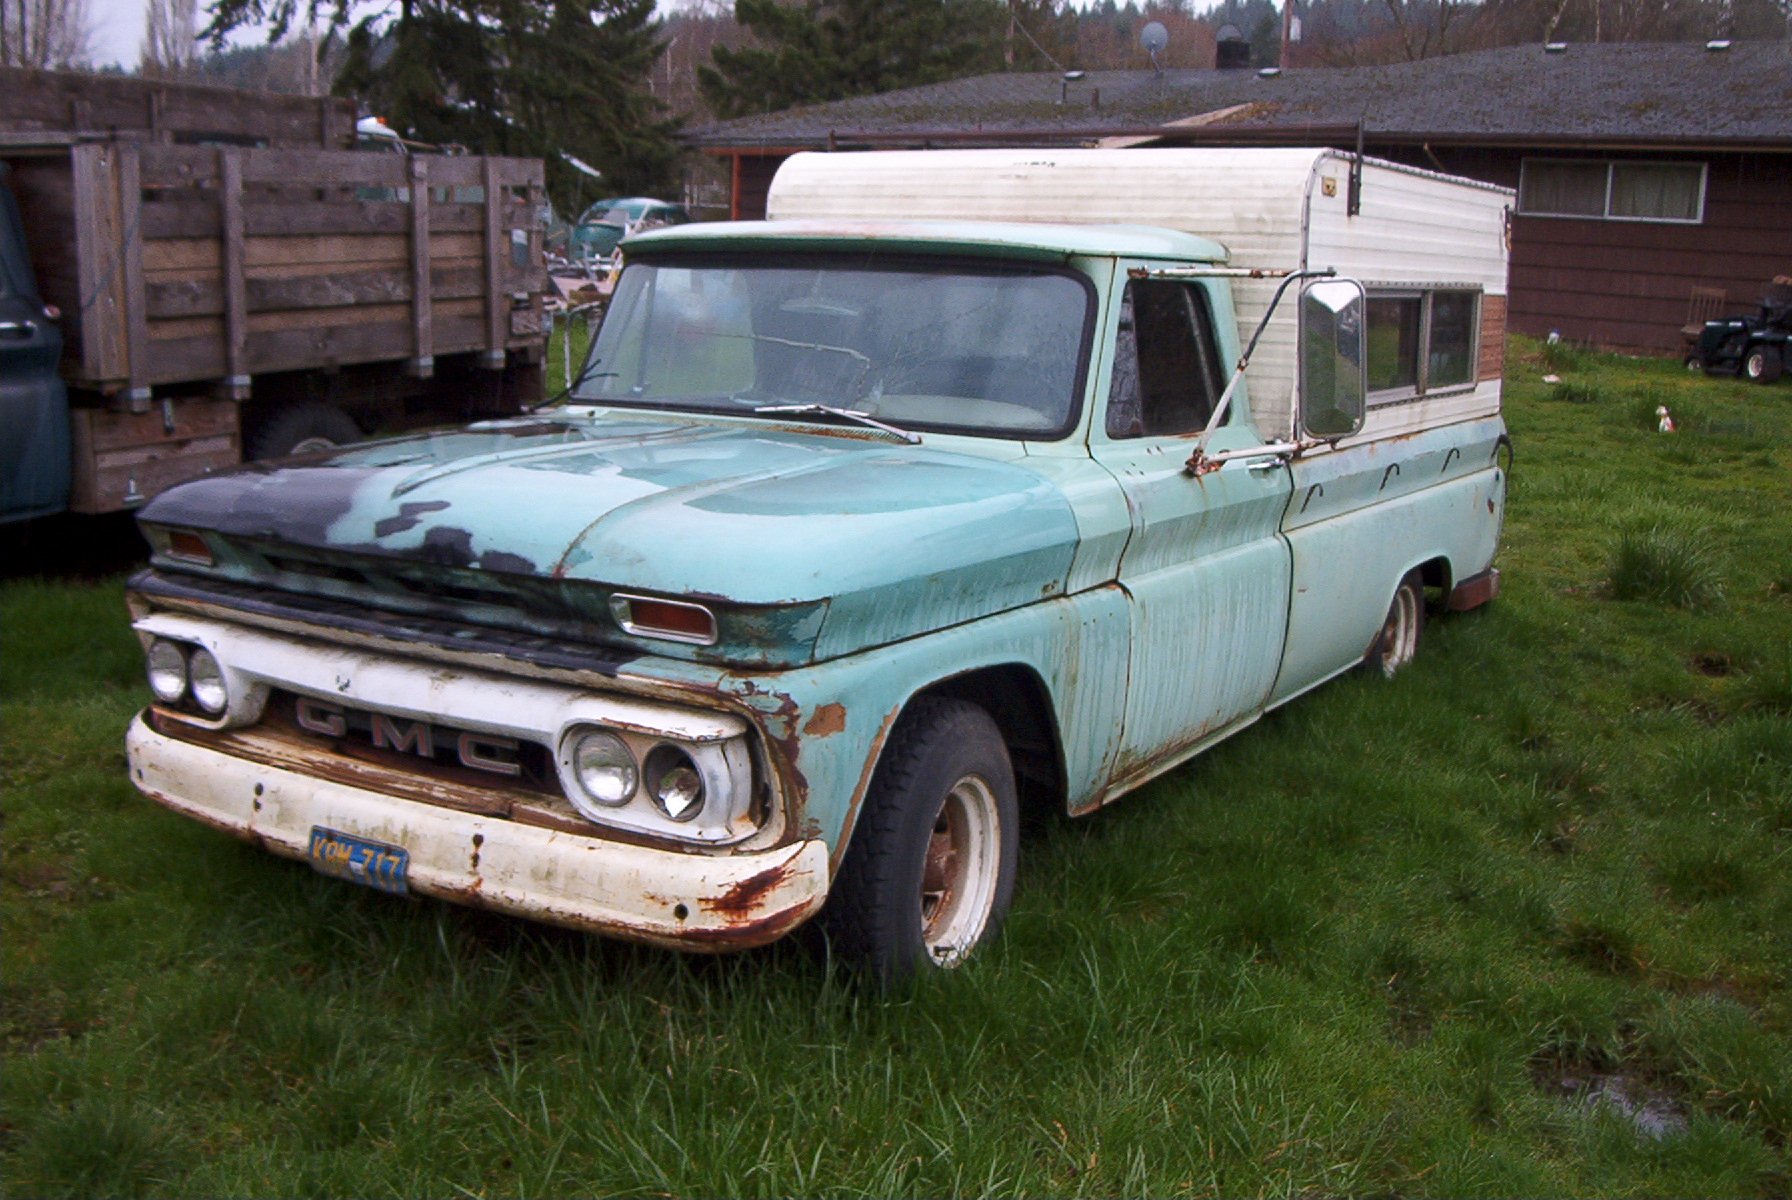
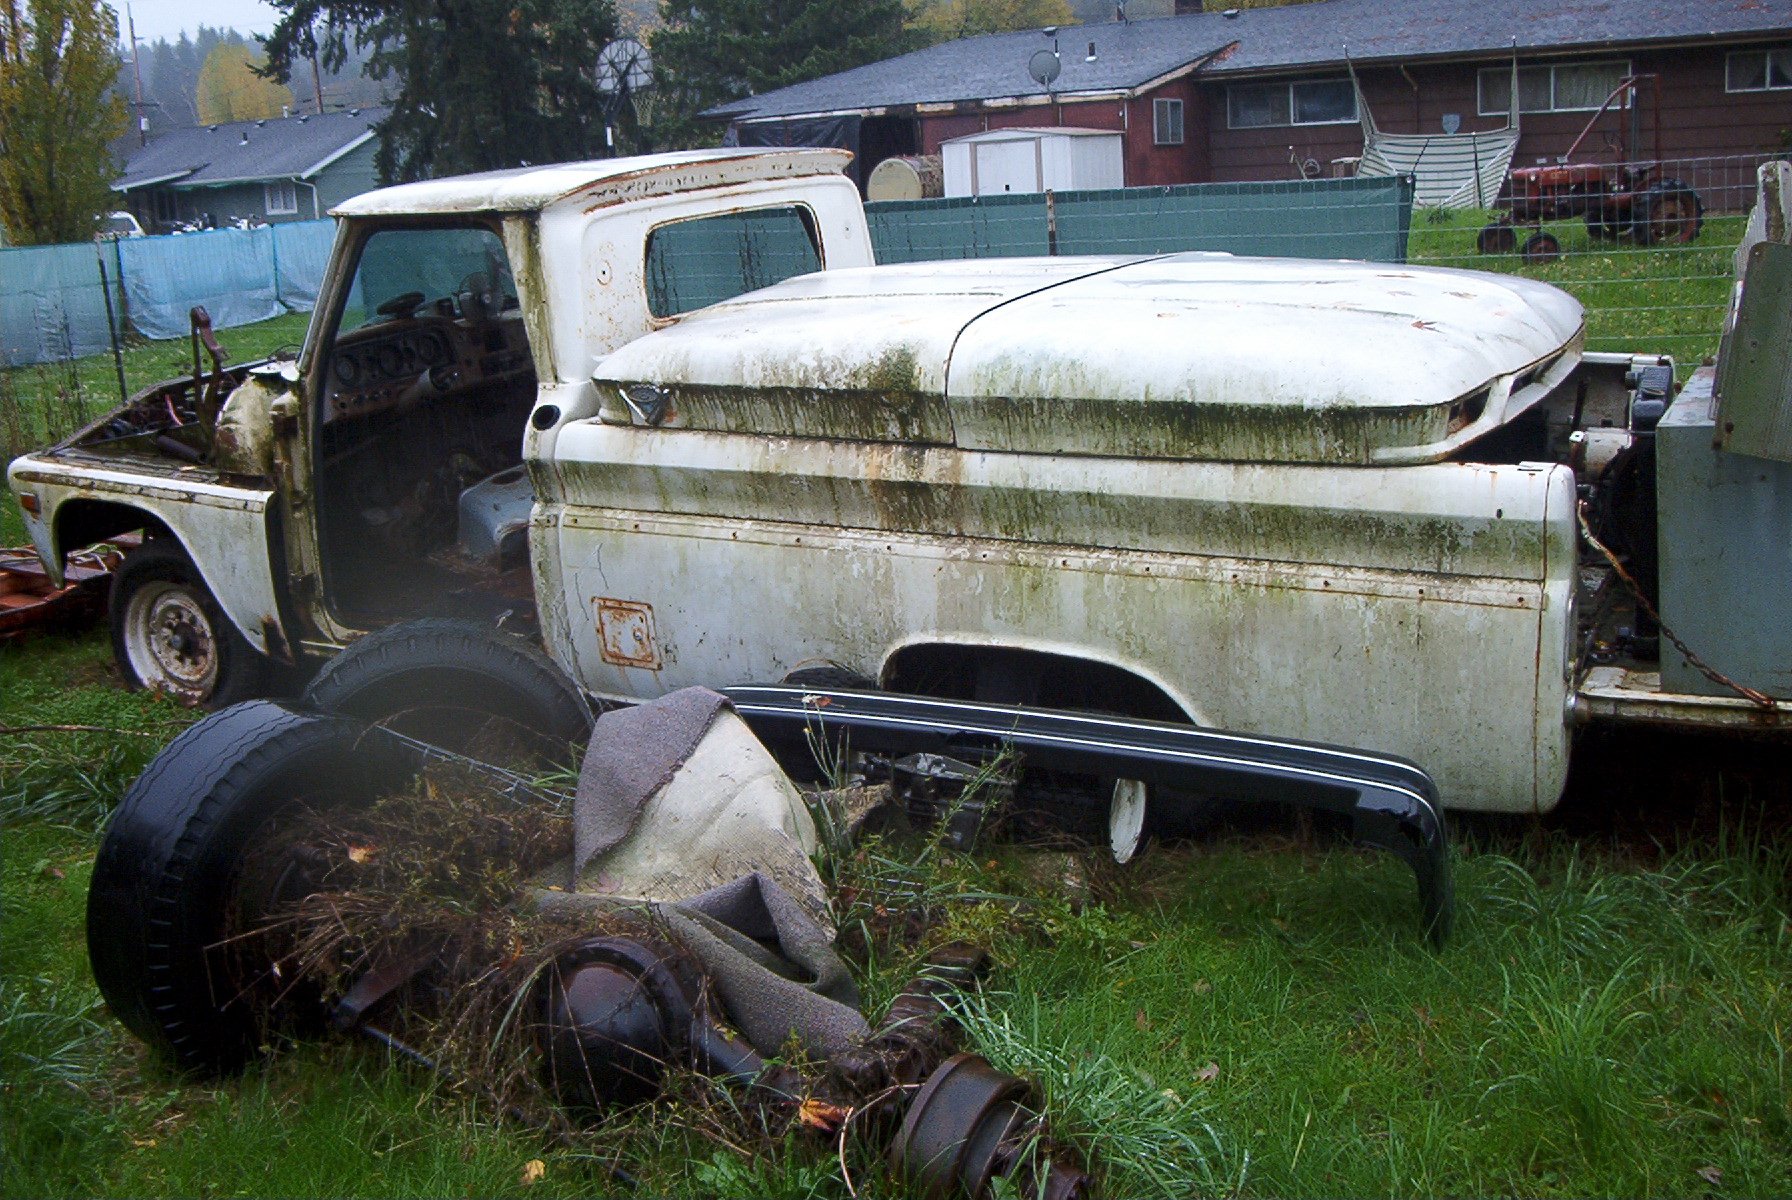
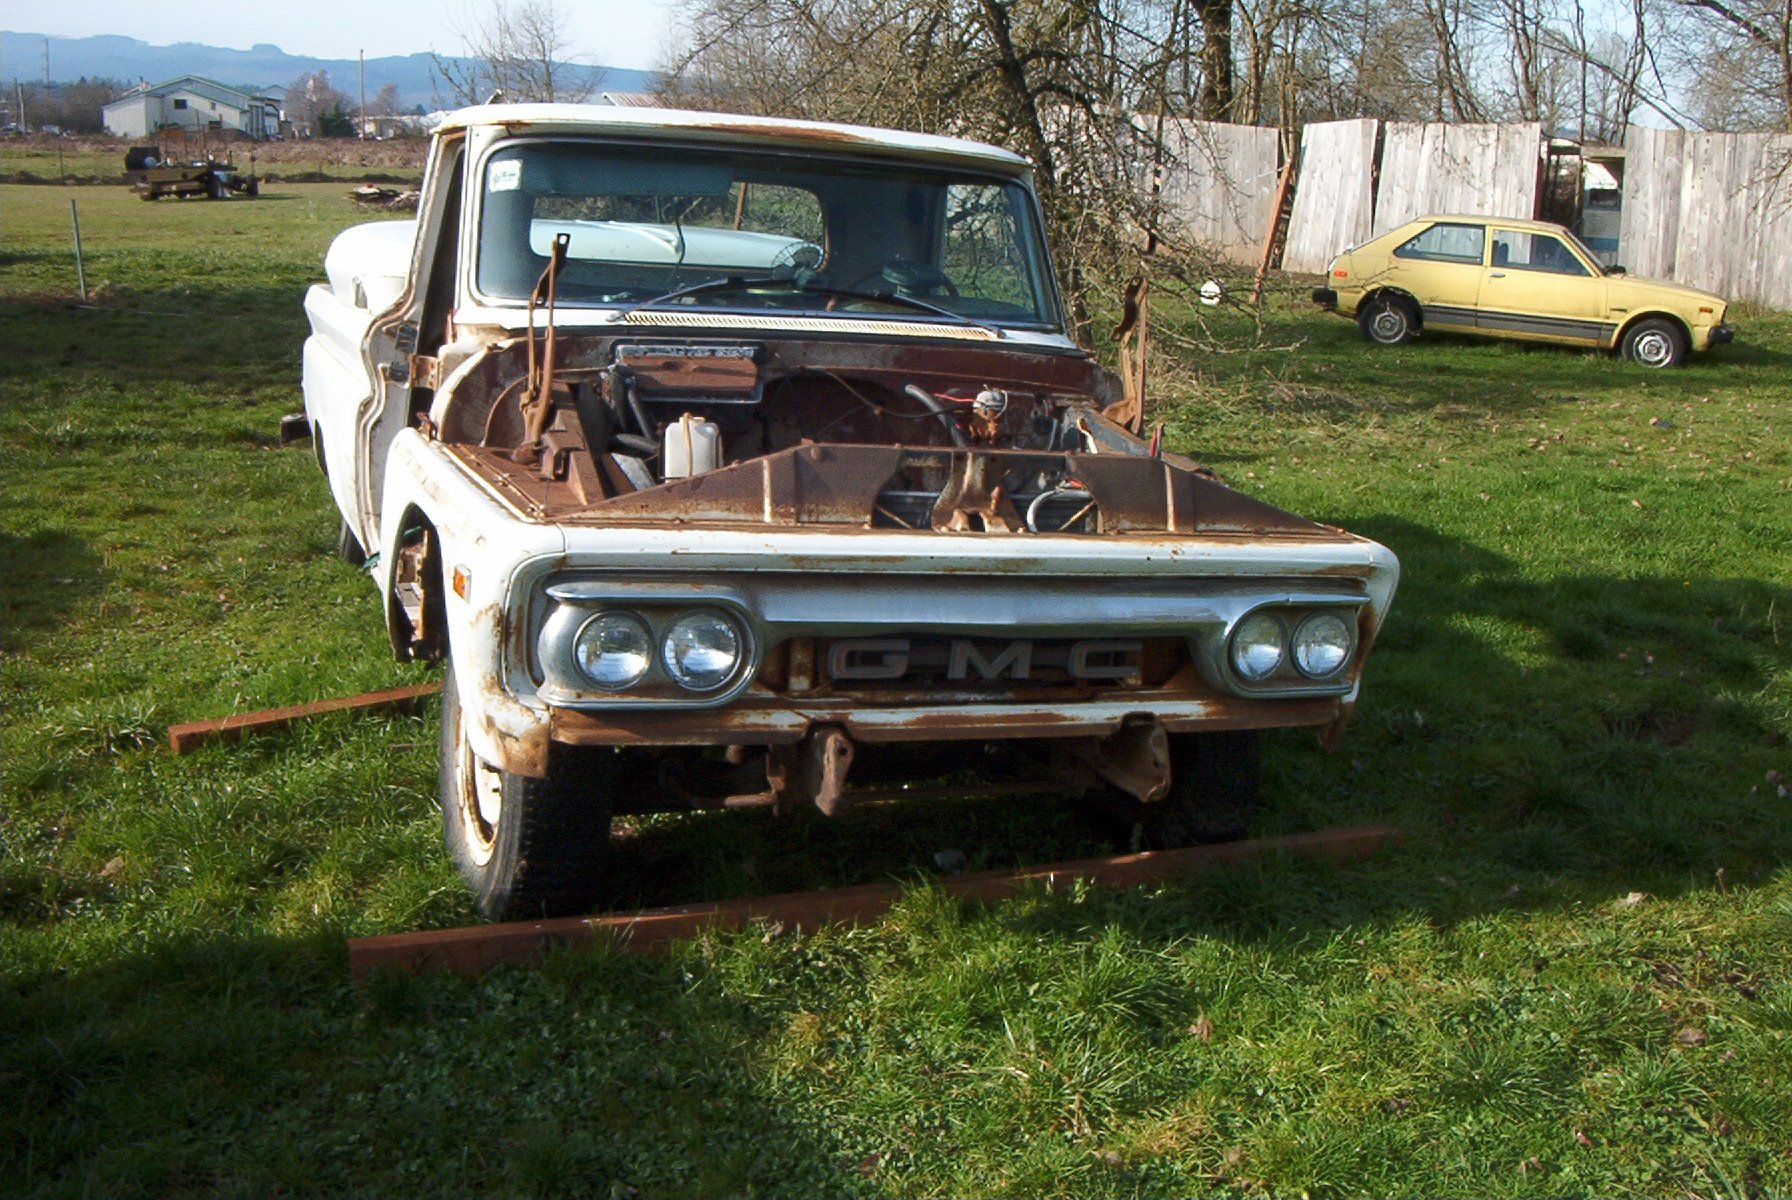
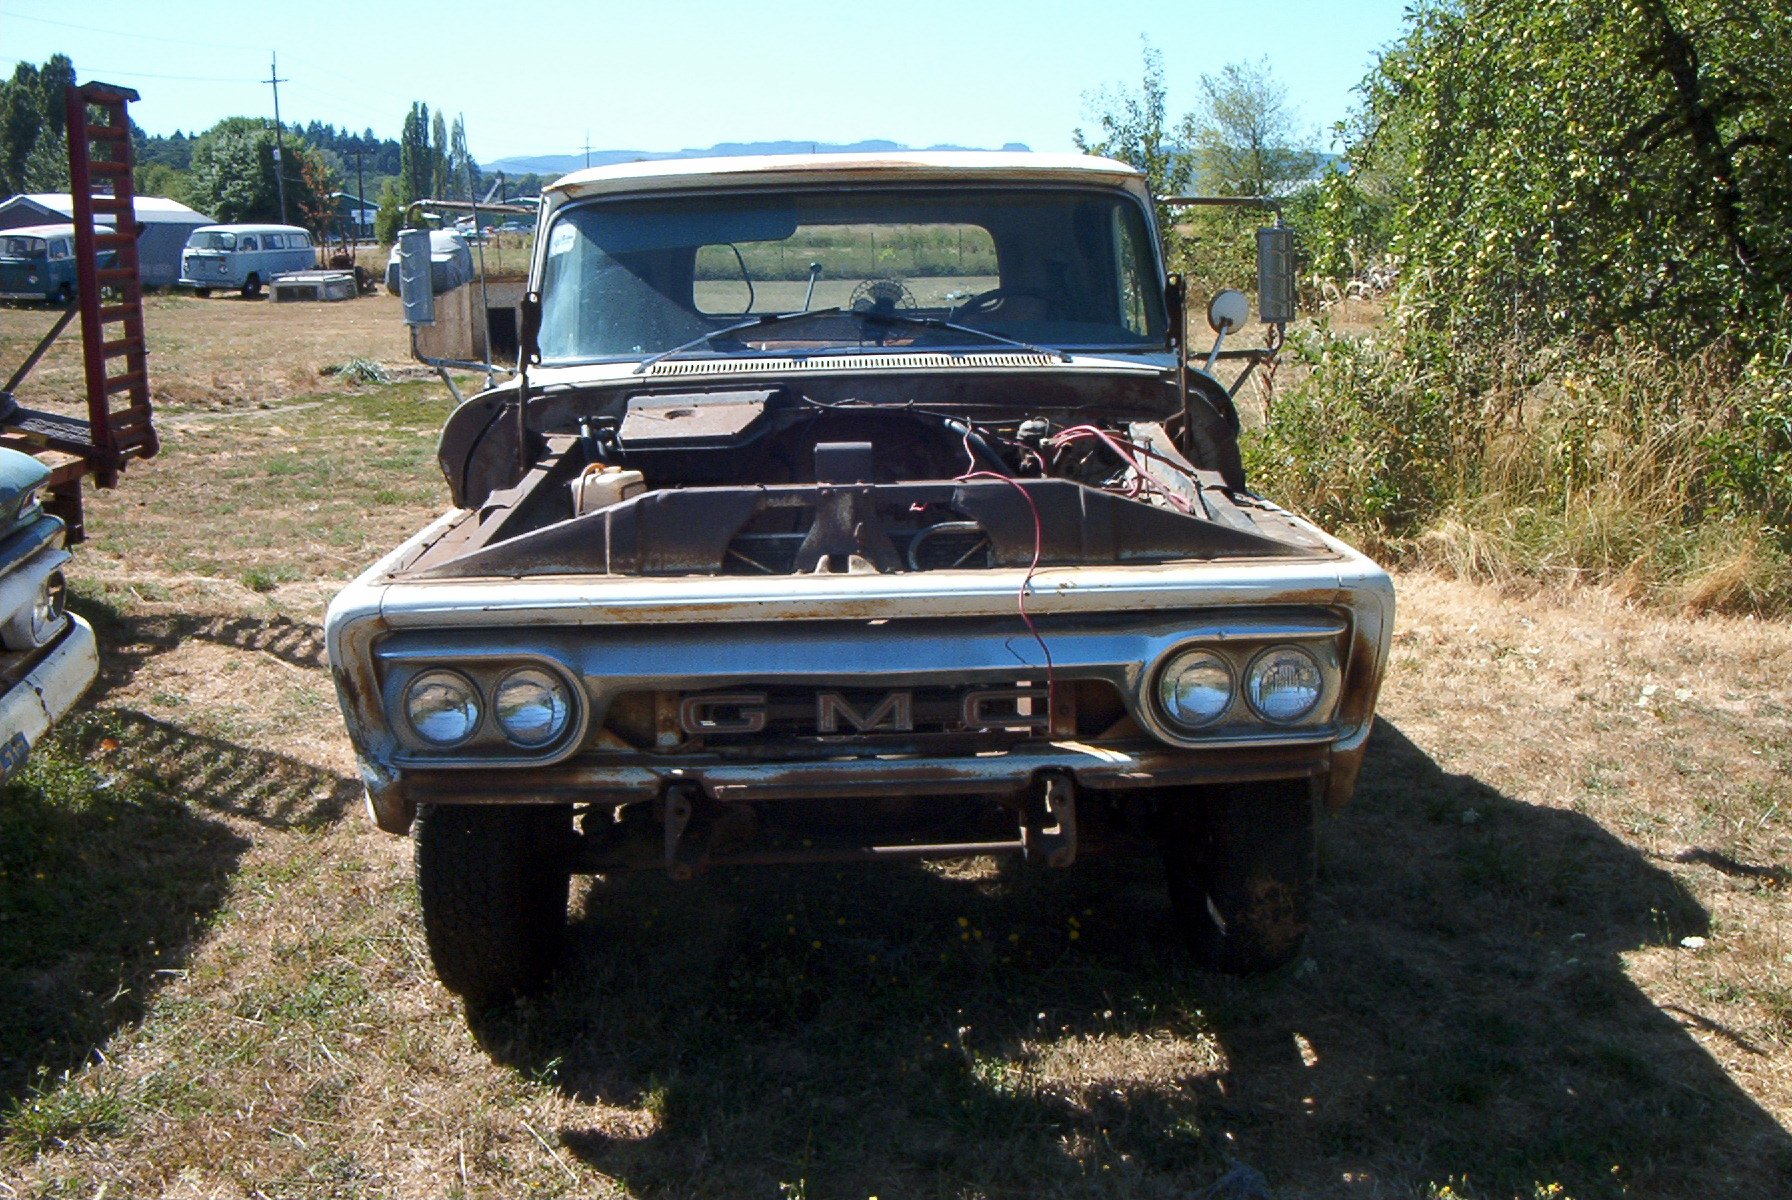
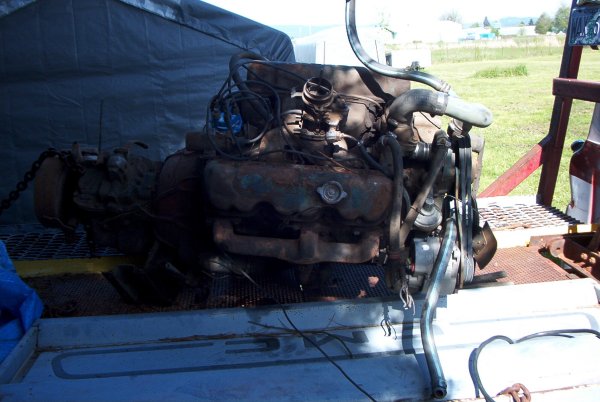
Yet another 1966 GMC 1500 that I
got for parts. This one from Kenny Whitman. He actually
traded me 2 trucks for a trailer, but one truck didn't make it here as
a complete truck. It found it's way here in assorted
pieces.

![]()
For all the information you could ever want on 1960-1966 GMC trucks.
This is the place!
|
||||||||||
![]()
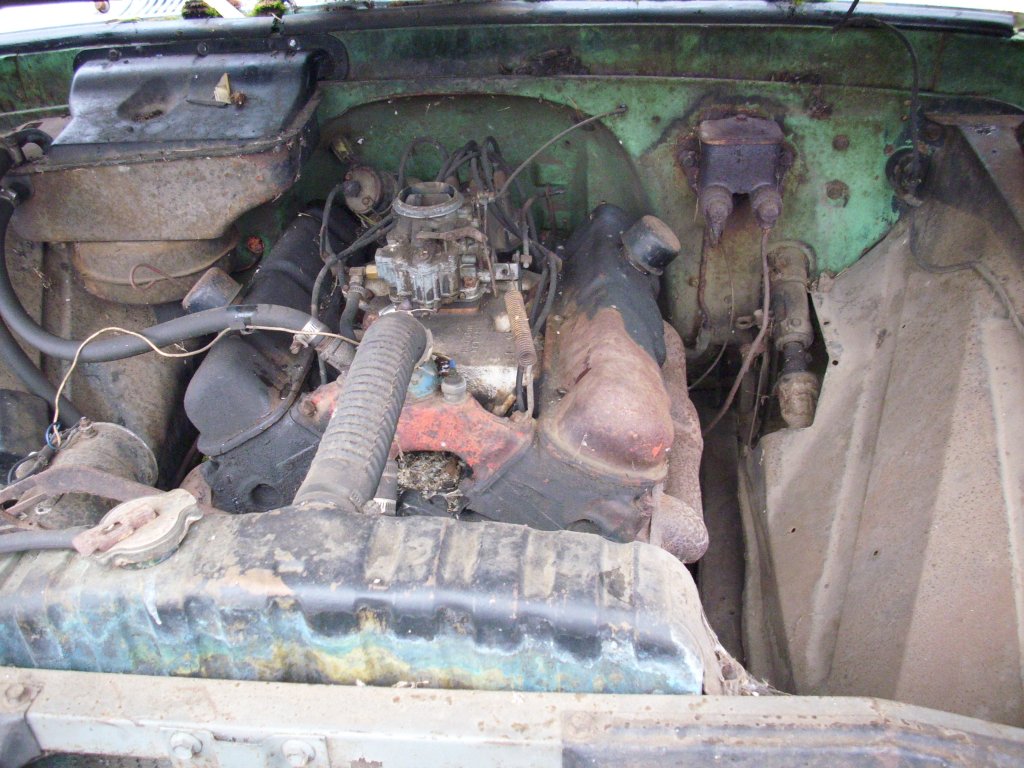
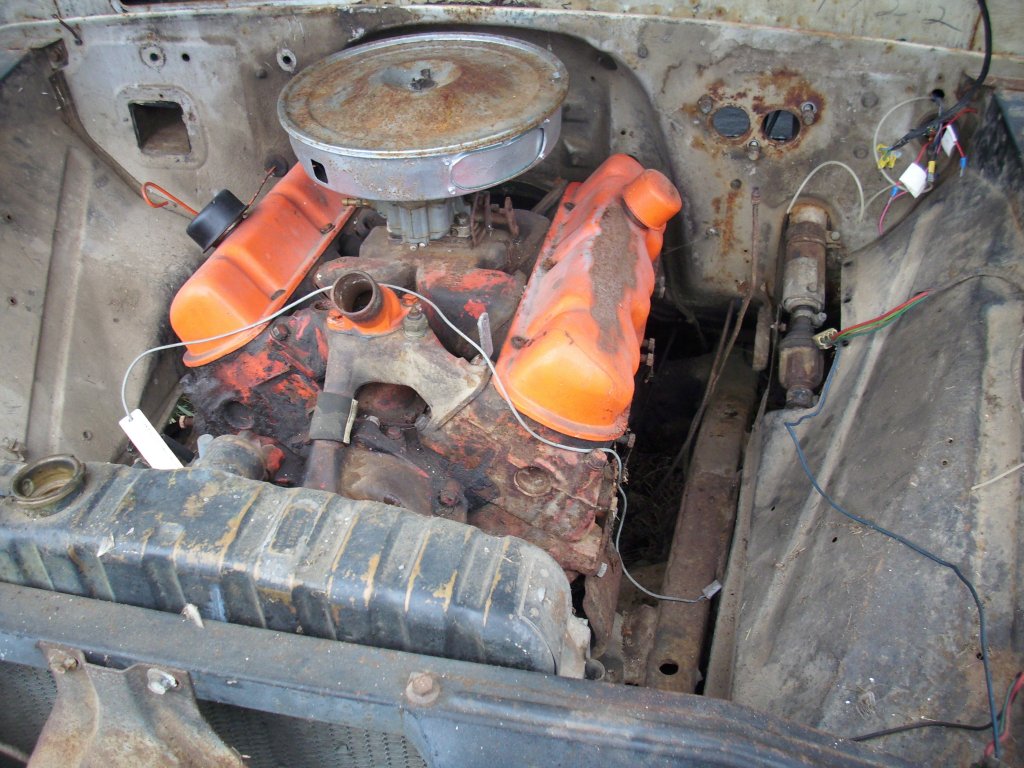
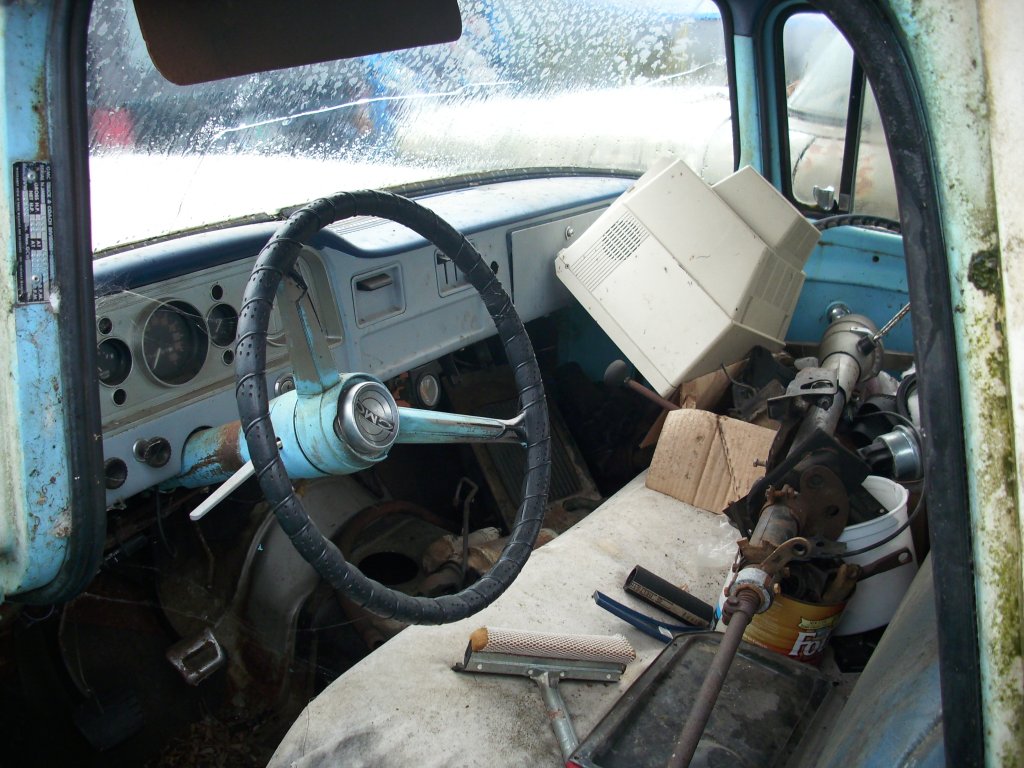
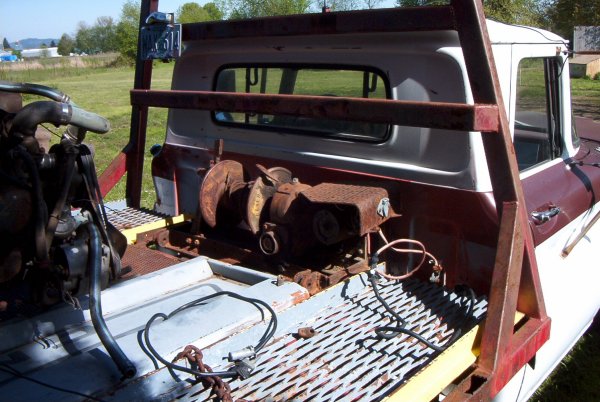
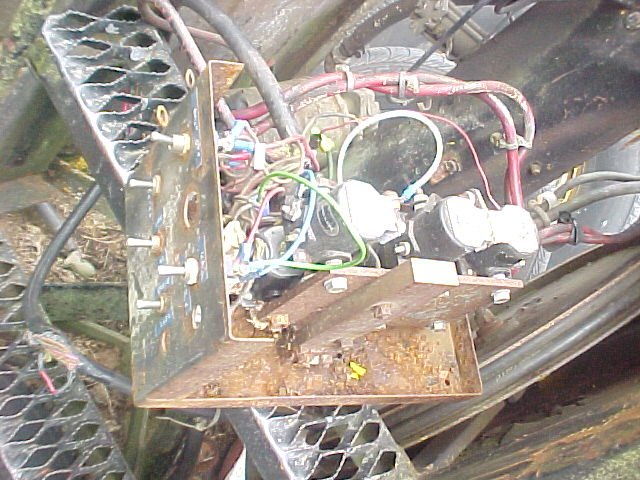
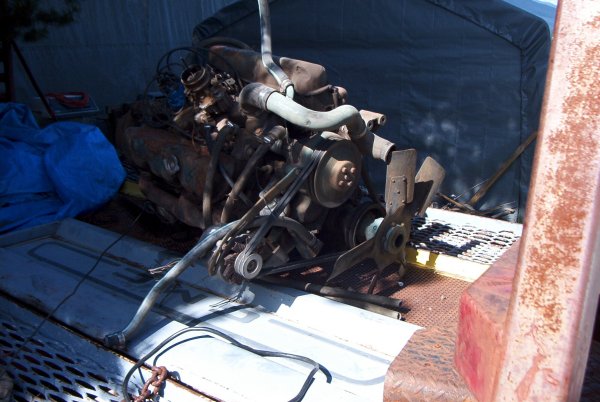
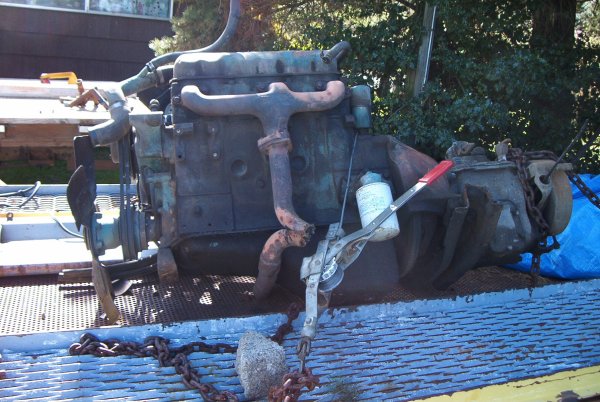
This is a 305C engine. Pipes and intake indicate manufacture
dates in 1965 so I would guess that indicates this engine was in a 1966
truck. I was told a cabover, as the fan is fastened to the crankshaft,
and the transmission has different connections than I am used to I would
tend to agree with that. This engine may be installed in my '68 2-ton
truck, or it may go in the '61 pickup. Not sure at the moment.
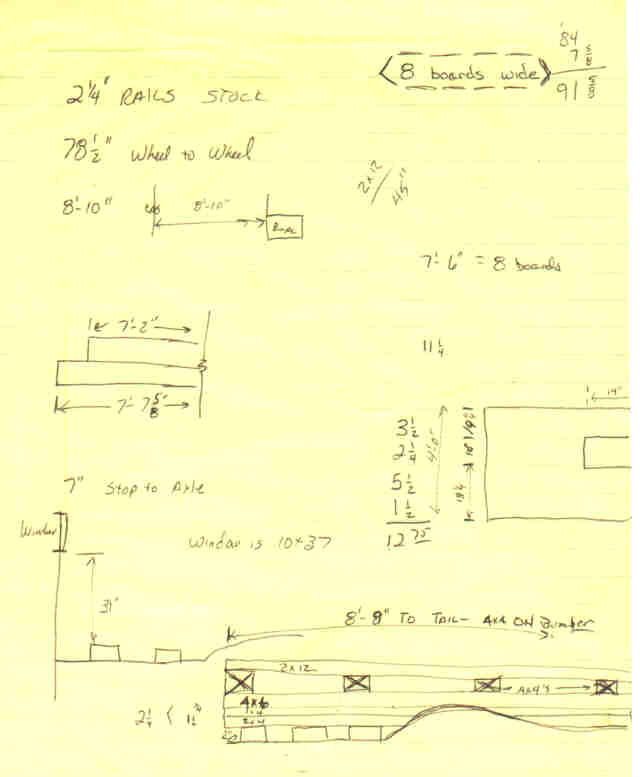
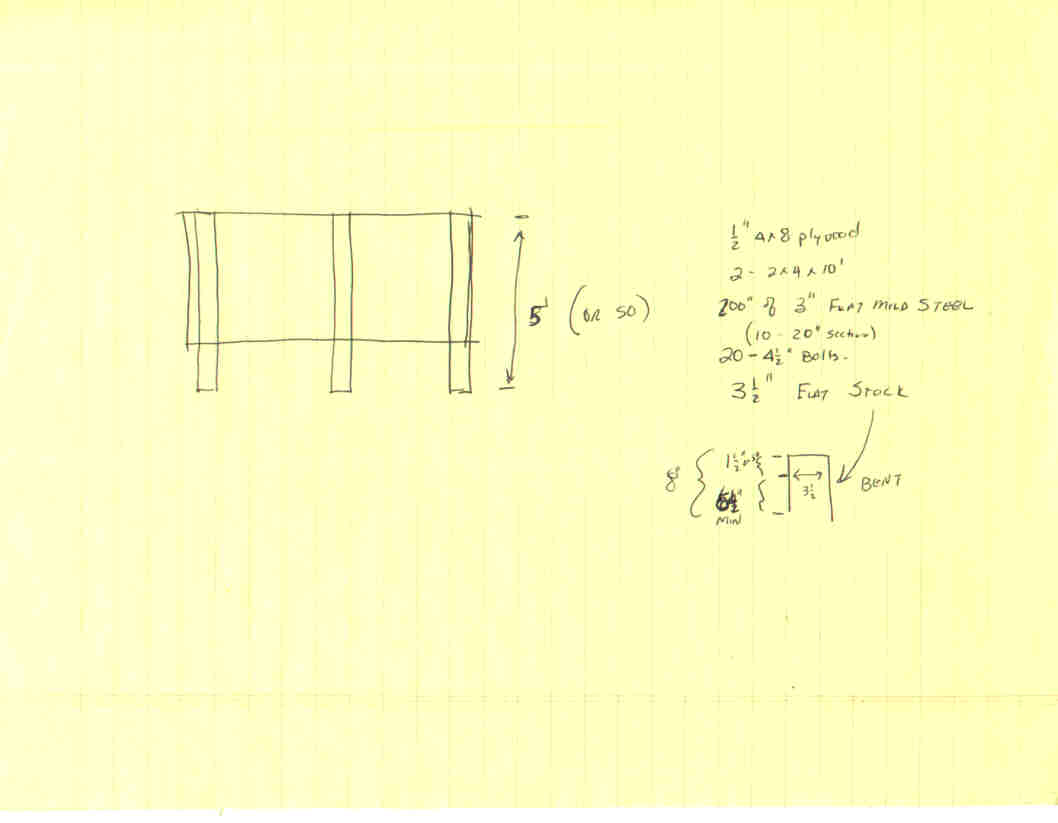
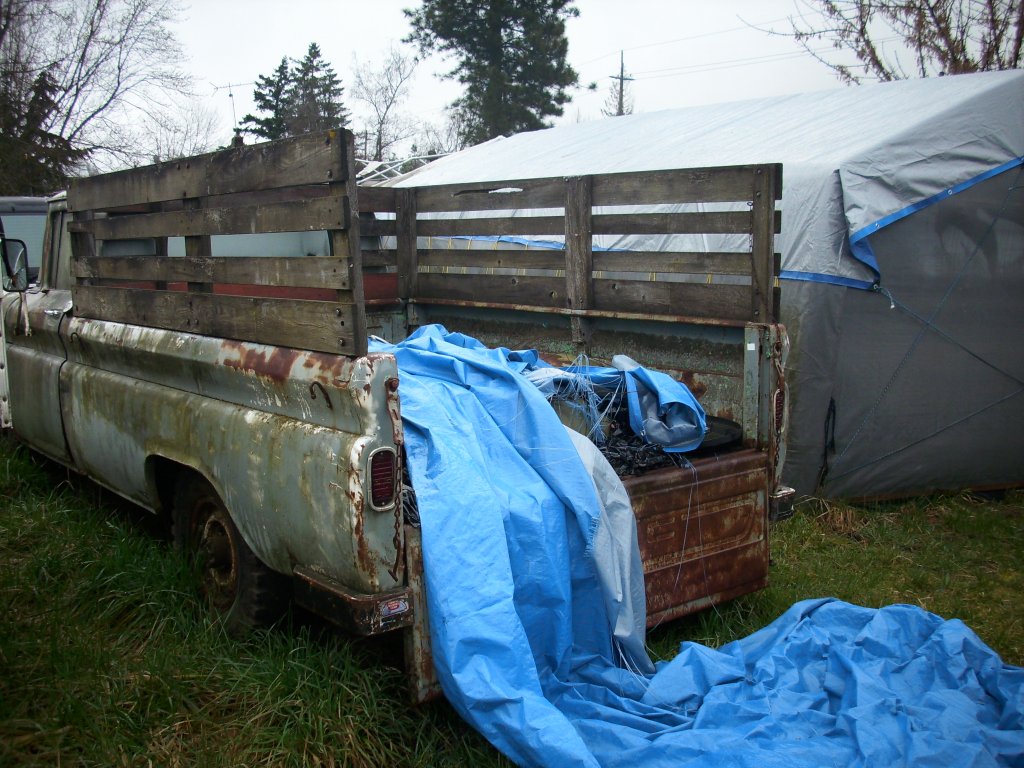
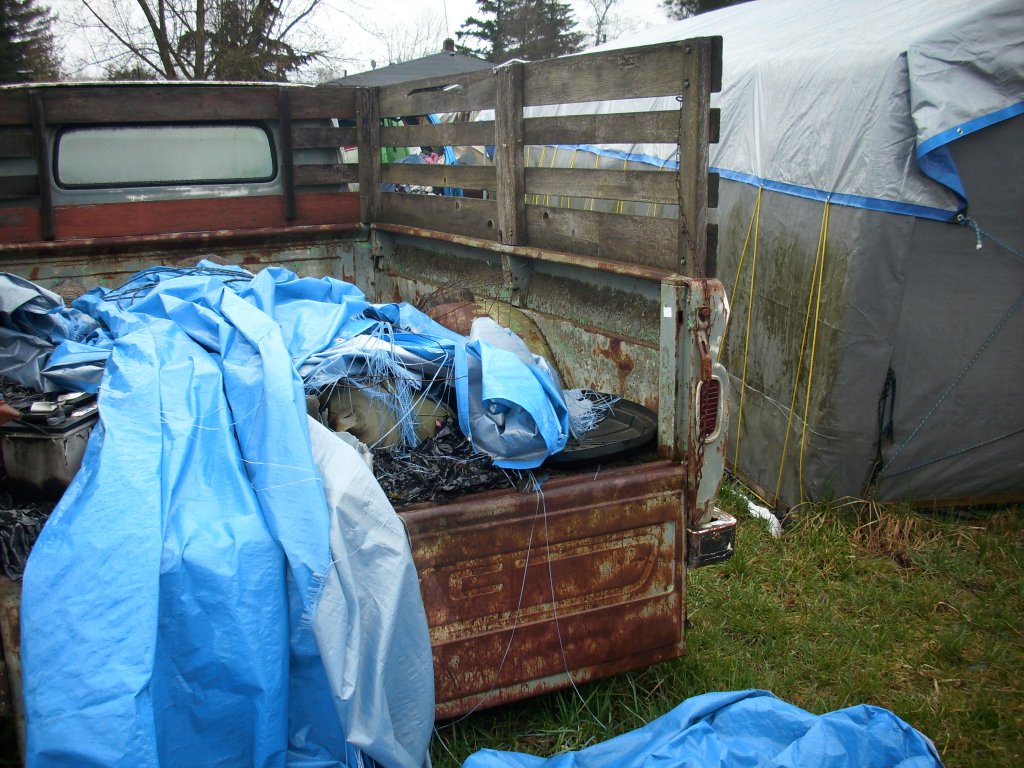
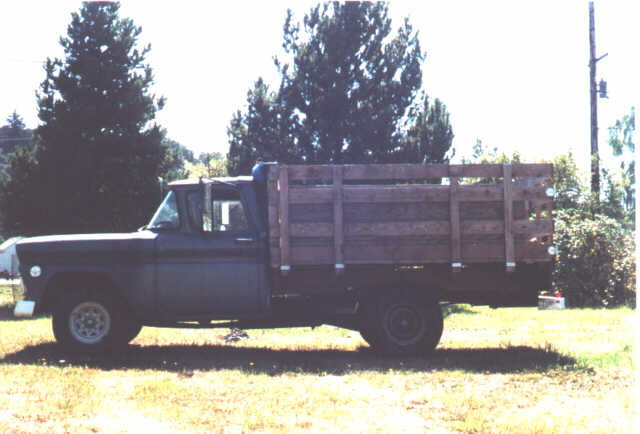
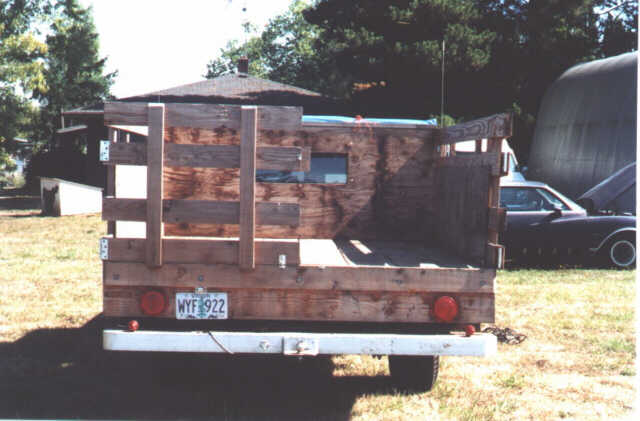
Plans for the Bed I built for my 1961 GMC 3/4 ton.
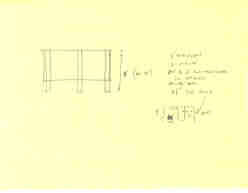
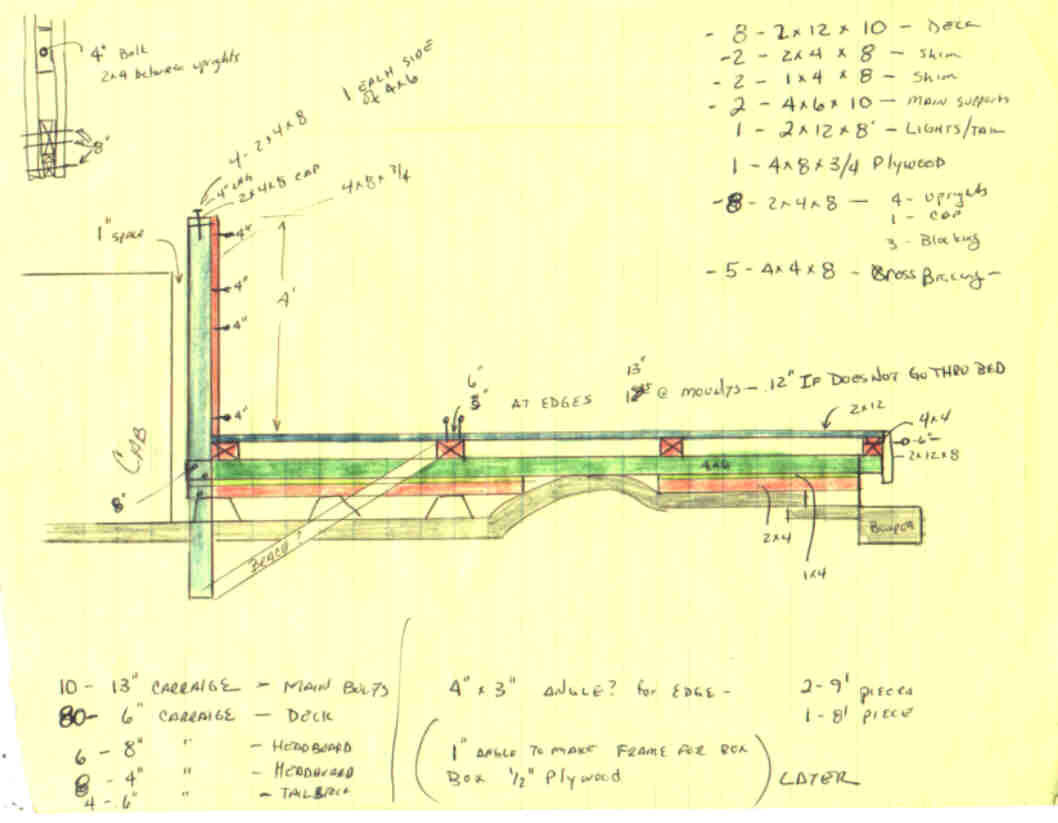
1)Details of the Headboard, Basic sketches of the bed area and how I planned on getting it to mate with the frame of the truck. Heights were determined by placing extra pickup box supports on the factory mounts, then replacing those with appropriate heights of lumber. In this case, it took a 2x4 and a 1x4 to level everything out.2) This is a more detailed drawing of how the bed was laid out. I attempted to color code everything. It helped my thought processes to see *everything* as I hoped it would look. Obviously it is not to scale. The differences between this drawing and the actual bed are:
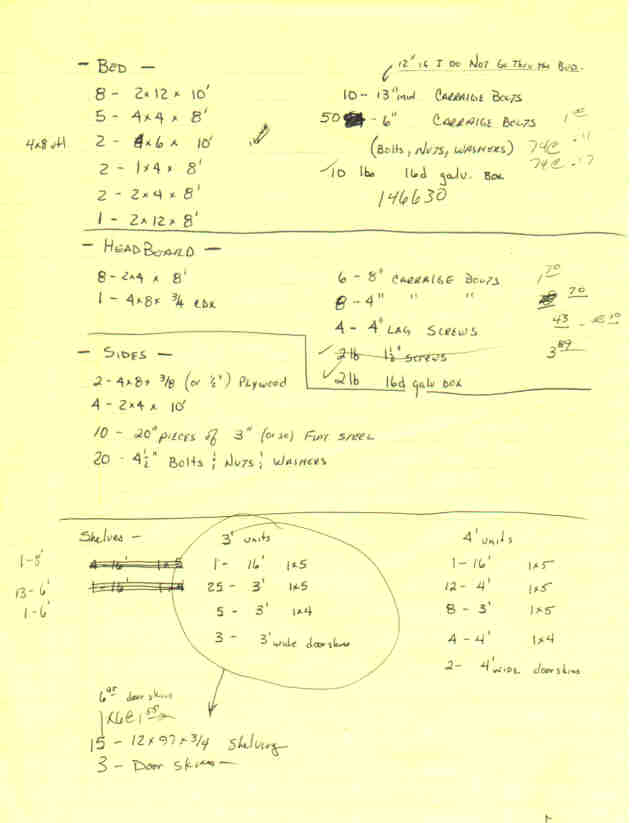
3) Parts Lists! Everybody needs a parts list! This list is separated into 4 sections.
- I did not use the brace in the final construction as the headboard was plenty sturdy without it.
- As far as materials goes, I did not use all the Deck bolts I called for in this plan. It would have been overkill, and way too expensive.
- There also ended up being 6 4x4's supporting the deck. One at each mounting point and one at each end.
- A 2x4 crosses under the bed on center above the tires.
- The Brace was not used as the headboard was strong enough without it.
- A 2x6 was added at the end of the deck to cap it off and improve the visual appeal
- a 2x6 was used to cap the top of the headboard as well, for visual appeal.
Section 1 is for the actual Bed.
Section 2 lists the parts for the Headboard.
Section 3 is planning for the Side Boards.
Section 4 is for some book shelves the wife wanted me to make for the house.
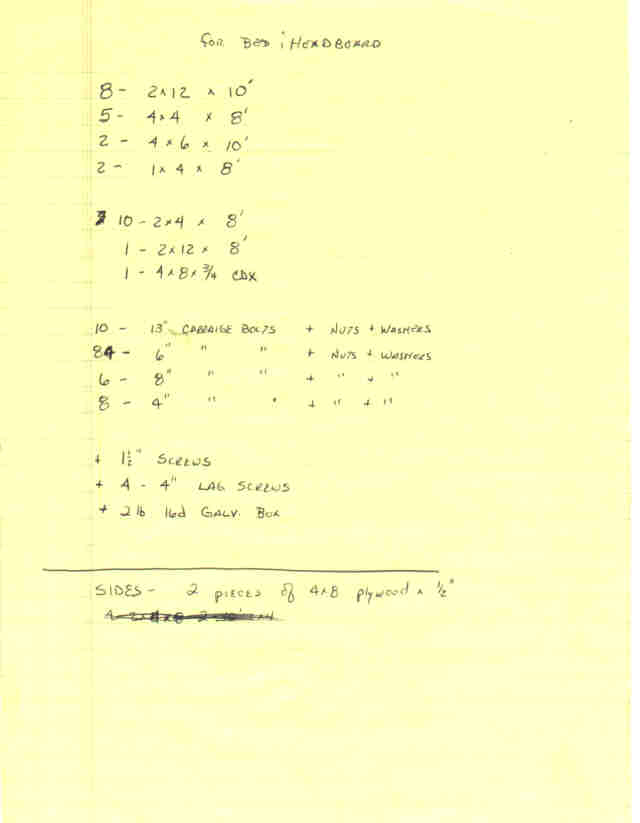
This is the "shopping" list I took with me to the lumber yard.4) The "cleanest" parts list. Also the original list, which does not reflect what I actually bought.
5) The original design for the sideboards. Boy am I glad I didn't go with this one!!!
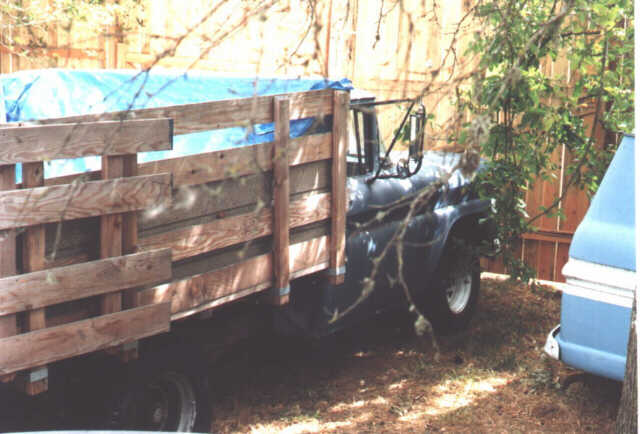
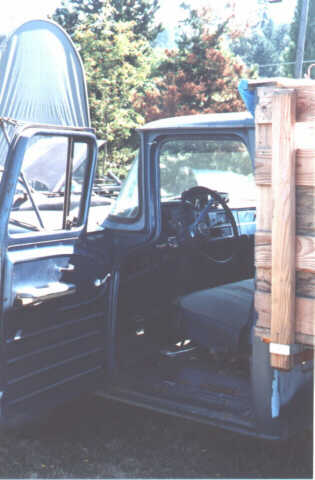
The sideboards ended up being 1x6 with 4 2x4 uprights. I plan on rebuilding these as I used less than good wood (I used cheap stuff) because I needed the truck right away. I will be using 3" angle iron at the headboard to form a channel for one end of the sideboards to slide into (currently they are nailed to the headboard. Not very removable that way!). Currently the uprights are slid into pockets formed at the end of 4 of the 4x4 cross members, the pockets are made out of standard Simpson connectors. I also have to rebuild the gates as the current design is awkward to use.